Step-by-Step Guide to Using ESTEL Inverters in Solar Systems

Harnessing solar energy offers a sustainable way to power your home or business. ESTEL inverters play a critical role in converting solar power into usable electricity. Properly integrating these devices ensures your system operates safely and efficiently while delivering optimal performance. Without correct installation, you risk system failures or reduced energy output. This guide provides a clear, step-by-step approach to help you seamlessly connect your solar inverter with solar panels and batteries. By following these instructions, you can unlock the full potential of your solar energy system.
Key Takeaways
Learn about ESTEL inverters' features like high efficiency and smart monitoring to improve your solar system's performance.
Make sure your inverter, solar panels, and batteries work well together to avoid problems and get the best energy output.
Stay safe during installation by checking parts and turning off the main power to protect yourself and your equipment.
Take care of your ESTEL inverter by looking for damage, watching its performance, and getting professional help when needed to keep it working well.
Use good habits like placing panels in the best spots and cleaning them often to get more energy and make your system last longer.
Understanding ESTEL Solar Inverters

Features of ESTEL Solar Inverters
ESTEL solar inverters are designed to deliver reliable performance and advanced functionality. These inverters come equipped with features that enhance their usability and efficiency. You will find that they include:
High conversion efficiency: This ensures minimal energy loss when converting solar energy into electricity.
Smart monitoring systems: These systems allow you to track energy production and system performance in real time.
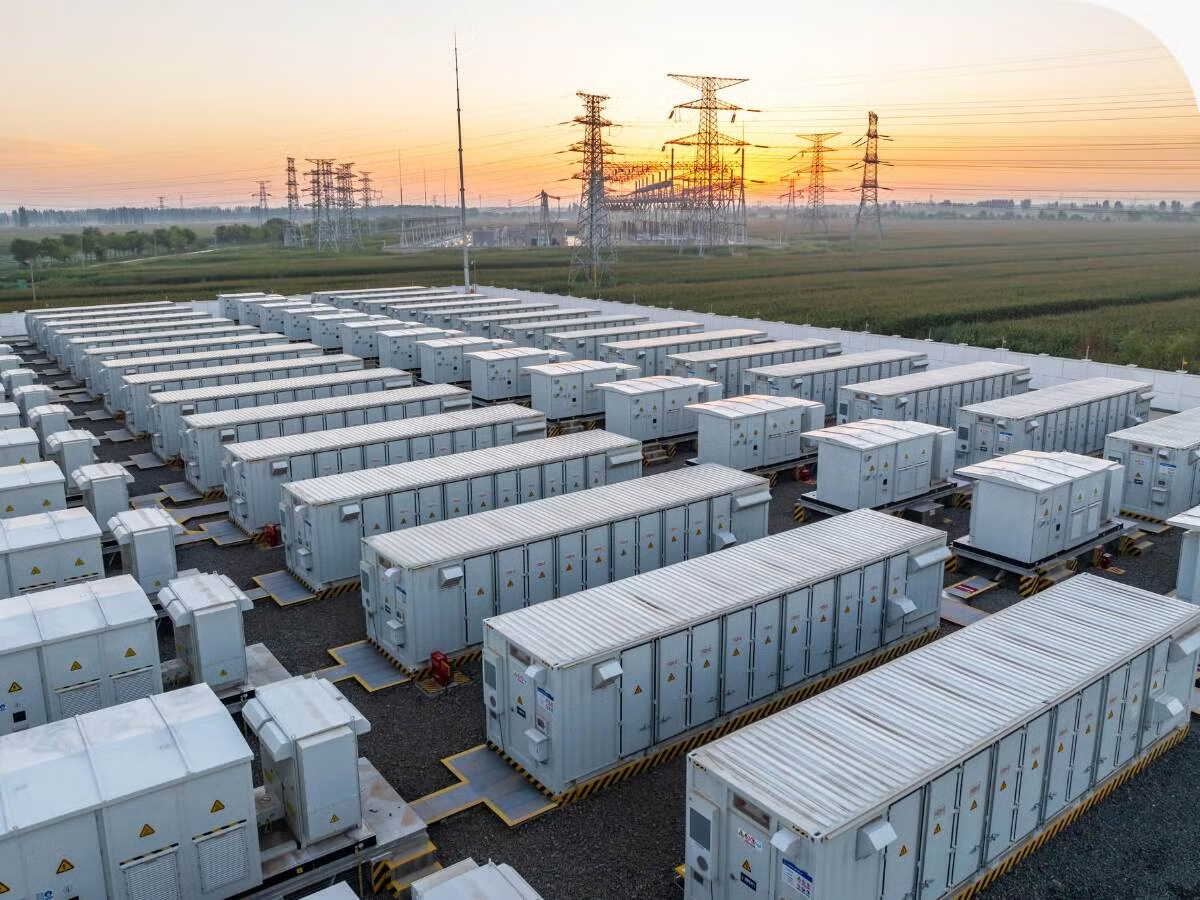
Durable build quality: ESTEL inverters are built to withstand harsh weather conditions, making them ideal for outdoor installations.
User-friendly interfaces: The intuitive design simplifies configuration and troubleshooting.
Tip: Always check the inverter's specifications to ensure it meets your energy needs and integrates seamlessly with your solar panels.
Benefits of ESTEL Inverters in Solar Systems
Using ESTEL inverters in your solar system offers several advantages. These devices optimize energy usage and improve overall system performance. Here are some key benefits:
Enhanced energy efficiency: ESTEL inverters maximize the energy output from your solar panels, ensuring you get the most from your investment.
Improved system reliability: Their robust design reduces the risk of malfunctions, providing consistent power supply.
Cost savings: By increasing energy efficiency, these inverters help lower electricity bills over time.
Eco-friendly operation: ESTEL inverters support sustainable energy use, reducing your carbon footprint.
Compatibility with Solar Panels and Batteries
Ensuring compatibility between your inverter, solar panels, and batteries is crucial for a well-functioning solar system. ESTEL inverters are designed to work seamlessly with a wide range of solar panels and battery types. When assessing compatibility, consider the following:
Voltage and capacity: Match the inverter's input voltage range with the specifications of your solar panels and batteries.
System size: Ensure the inverter can handle the total energy output of your solar panels.
Battery type: Check if the inverter supports the type of battery you plan to use, such as lithium-ion or lead-acid.
Note: Proper compatibility ensures your solar system operates efficiently and safely, minimizing the risk of damage or energy loss.
Preparing for Integrating Solar Panels and Batteries
Assessing Power Requirements
Before integrating solar panels into your solar power system, you need to determine your energy needs. Start by calculating the total power consumption of your home or business. List all appliances and devices you plan to power with your system. Include their wattage and estimated usage hours. This calculation helps you estimate the daily energy demand in kilowatt-hours (kWh).
Next, consider the peak sunlight hours in your location. Areas with more sunlight hours allow for greater solar power generation. Use this information to decide how many solar panels you need to meet your energy requirements. For example, if your daily energy demand is 30 kWh and your location receives 5 peak sunlight hours, you’ll need panels that generate 6 kW per hour.
Tip: Overestimating your energy needs ensures your system can handle unexpected increases in power consumption.
Selecting Compatible Solar Panels and Batteries
Choosing the right components is essential for a functional home solar power system. Select solar panels that match the voltage and capacity of your inverter. For batteries, consider their type, capacity, and lifespan. Lithium-ion batteries are popular for their efficiency and durability, while lead-acid batteries are more affordable but require regular maintenance.
To ensure successful integration, follow these preparatory steps:
Step | Description |
|---|---|
Site Selection | Identify optimal locations based on solar radiation, accessibility, terrain, and environmental factors. |
Feasibility Study | Evaluate economic viability through financial, technical, and environmental analyses. |
Design and Engineering | Develop a plan that considers site characteristics and component selection for optimal performance. |
Permits and Approvals | Obtain necessary local authorizations, including environmental permits and grid connection agreements. |
Note: Proper planning and component selection improve the efficiency and reliability of your solar power system.
Safety Measures Before Installation
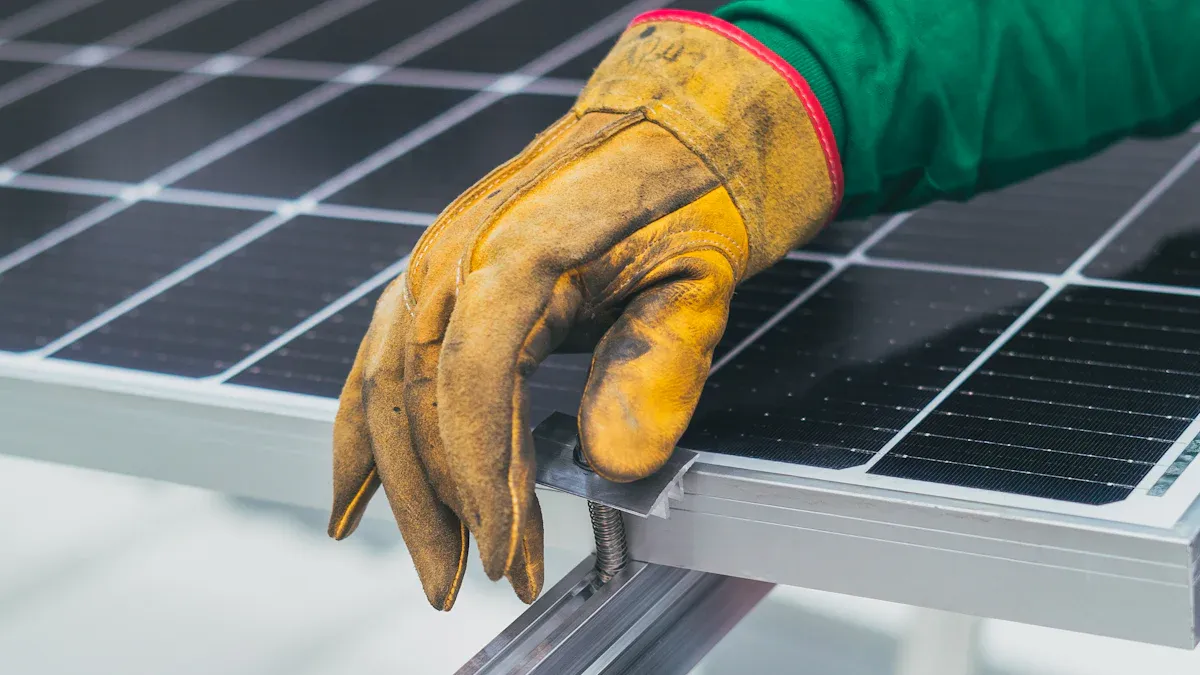
Safety should always come first when working with renewable energy systems. Before installation, inspect all components for damage or defects. Ensure the inverter, solar panels, and batteries meet safety standards. Wear protective gear, such as gloves and goggles, to prevent injuries.
Turn off the main power supply before connecting any components. This step reduces the risk of electrical shocks. If you’re unsure about any part of the process, consult a professional installer.
Reminder: Following safety protocols protects you and your equipment during the installation process.
Step-by-Step Process for Integrating Solar Panels and Batteries

Inspecting and Unboxing the ESTEL Solar Inverter
Start by carefully unboxing your ESTEL solar inverter. Inspect the device for any visible damage or missing components. Check the user manual and ensure all accessories, such as cables and mounting brackets, are included. Verify the inverter’s specifications to confirm compatibility with your solar panels and battery storage system.
Place the inverter in a location that meets the manufacturer’s guidelines. Choose a spot with proper ventilation and protection from direct sunlight or moisture. If you plan to install the inverter outdoors, ensure it has a weatherproof casing.
Tip: Keep the packaging intact until the inverter passes inspection. This makes it easier to return or replace the device if needed.
Connecting Solar Panels to the Inverter
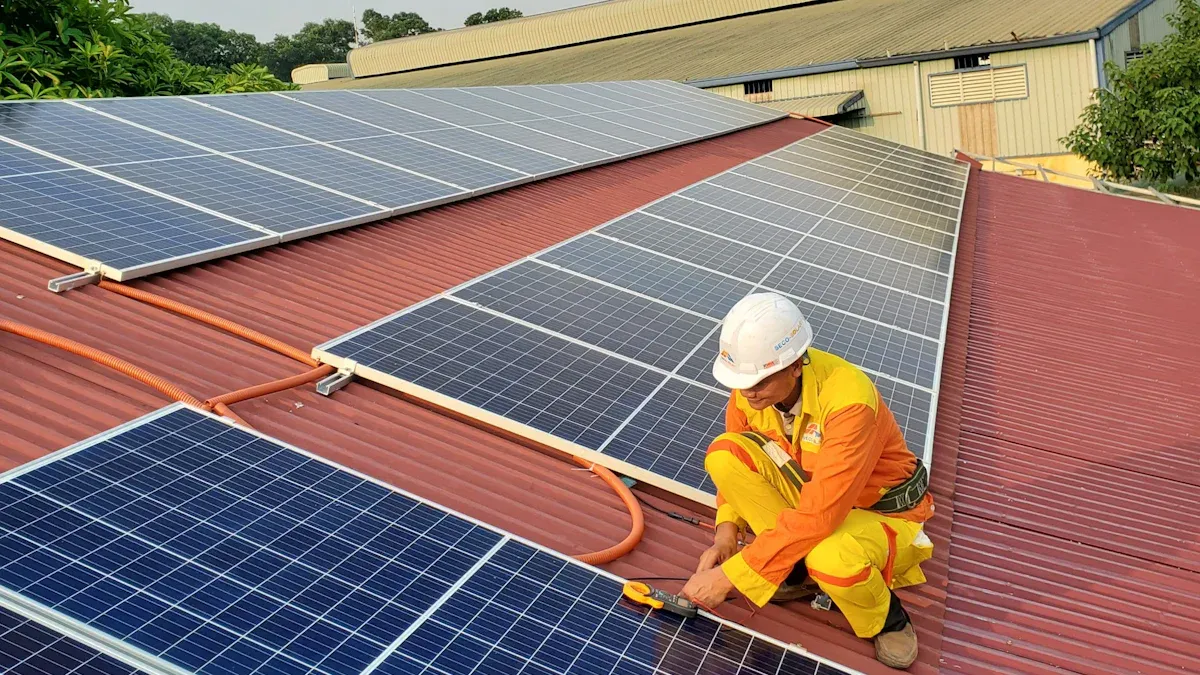
Connecting your solar panels to the inverter requires precision and attention to detail. Begin by identifying the positive and negative terminals on both the panels and the inverter. Use high-quality cables to establish the connection, ensuring they match the voltage and current ratings of your system.
Follow these steps for a seamless connection:
Turn off the inverter: Ensure the inverter is powered off to prevent electrical hazards.
Connect the panels: Attach the positive cable from the solar panels to the positive terminal on the inverter. Repeat the process for the negative cable.
Secure the connections: Tighten the terminals to prevent loose connections, which can lead to energy loss or system failure.
Verify polarity: Double-check the polarity of the connections to avoid damaging the inverter or panels.
Reminder: Incorrect wiring can compromise the efficiency of your solar inverter and lead to costly repairs.
Wiring the Battery System to the Inverter
Integrating the battery storage system with your inverter ensures uninterrupted power supply during low sunlight hours. Start by selecting batteries that match the inverter’s specifications. Lithium-ion batteries are ideal for hybrid inverter setups due to their efficiency and long lifespan.
Follow these steps to wire the battery system:
Calculate energy needs: Determine your daily energy consumption and multiply it by the desired backup days. This helps you choose the right battery capacity.
Connect the battery terminals: Attach the positive cable from the battery to the positive terminal on the inverter. Do the same for the negative cable.
Install a fuse or circuit breaker: Place a fuse between the battery and inverter to protect the system from electrical surges.
Test the connections: Power on the inverter and check the battery status on the display panel. Ensure the system is charging and discharging correctly.
Note: Proper battery integration enhances the reliability of your solar system and prevents energy loss during peak usage hours.
Configuring the Solar Inverter Settings
Once you’ve connected the solar panels and the solar storage battery to the inverter, the next step involves configuring the inverter settings. Proper configuration ensures your solar system operates efficiently and delivers optimal energy output.
Steps to Configure Your Inverter:
Power On the Inverter
Turn on the inverter using the main power switch. Most ESTEL inverters feature an LED display or touchscreen interface that activates upon powering up.Access the Settings Menu
Navigate to the settings menu on the inverter’s interface. This menu allows you to adjust parameters such as input voltage, output frequency, and battery charging preferences.Set the Battery Type
Select the type of solar storage battery you’re using. For example, if you’ve chosen a lithium-ion battery, ensure the inverter is set to recognize it. This step optimizes the charging and discharging cycles.Adjust the Output Voltage
Configure the output voltage to match the requirements of your appliances. Most residential systems operate at 120V or 240V, depending on your region.Enable Monitoring Features
Activate the inverter’s monitoring system. This feature allows you to track energy production, battery status, and overall system performance in real time. Some ESTEL inverters also offer mobile app integration for remote monitoring.Save and Exit
After making the necessary adjustments, save the settings and exit the menu. The inverter will automatically apply the changes and begin operating based on the new configuration.
Tip: Refer to the user manual for detailed instructions on navigating the settings menu. If you encounter difficulties, contact ESTEL’s customer support for assistance.
Configuring the inverter correctly ensures your solar panels and battery work harmoniously. It also helps you maximize energy efficiency and prolong the lifespan of your system.
Testing the Solar System for Functionality
After configuring the inverter, you need to test the solar system to ensure it functions as expected. This step verifies that all components, including the solar panels, inverter, and solar storage battery, are working together seamlessly.
How to Test Your Solar System:
Inspect the Connections
Double-check all wiring connections. Ensure the cables linking the panels, inverter, and battery are secure and free from damage. Loose or faulty connections can disrupt energy flow and compromise system performance.Monitor the Inverter Display
Turn on the inverter and observe its display panel. Look for indicators showing the system’s operational status, such as energy input from the panels, battery charge level, and energy output to your appliances.Check Energy Flow
Use a multimeter to measure the voltage and current at various points in the system. This step confirms that energy is flowing correctly from the panels to the inverter and then to the battery and appliances.Simulate Load Conditions
Connect a few appliances to the system and monitor their performance. This test ensures the inverter can handle the energy demand without issues.Test Backup Power
If your system includes a solar storage battery, simulate a power outage by disconnecting the main grid. Check if the inverter switches to battery power seamlessly and continues supplying energy to your appliances.Observe for Errors
Pay attention to any error messages or warning lights on the inverter. These indicators can help you identify and resolve potential issues before they escalate.
Reminder: If you notice any irregularities during testing, consult a professional installer or refer to the troubleshooting section of the inverter’s user manual.
Testing your solar system ensures it operates safely and efficiently. It also provides peace of mind, knowing your investment in solar energy is delivering the expected benefits.
Optimizing Solar System Performance
Maintenance Tips for ESTEL Solar Inverters
Regular maintenance keeps your ESTEL solar inverter running smoothly and ensures long-term system efficiency. Neglecting upkeep can lead to reduced performance or unexpected failures. Follow these tips to maintain your inverter effectively:
Inspect the inverter regularly: Check for visible damage, loose connections, or dirt accumulation. Clean the exterior using a dry cloth to prevent dust from interfering with its operation.
Monitor the cooling system: Ensure the inverter’s ventilation system remains unobstructed. Overheating can reduce energy efficiency and shorten the device’s lifespan.
Update firmware: If your inverter supports firmware updates, install them promptly. Updates often include performance improvements and bug fixes.
Check error codes: Pay attention to error messages displayed on the inverter. Refer to the user manual to troubleshoot issues or contact customer support for assistance.
Schedule professional servicing: Arrange annual inspections by a certified technician. They can identify potential problems and optimize system performance.
Tip: Keep a maintenance log to track inspections, repairs, and updates. This helps you stay organized and ensures your solar system operates at peak efficiency.
Monitoring Solar System Efficiency
Tracking your solar system’s efficiency allows you to identify areas for improvement and maintain consistent energy output. Use these strategies to monitor your system effectively:
Install monitoring tools: Many ESTEL inverters come with built-in monitoring systems. Use these tools to track energy production, battery status, and overall system performance.
Analyze daily energy output: Record the amount of energy your system generates each day. Compare this data with expected values based on your location’s sunlight hours.
Check for energy losses: Inspect wiring connections and components for signs of wear or damage. Faulty parts can reduce energy efficiency.
Use mobile apps: Some inverters offer app integration for remote monitoring. These apps provide real-time data and alerts, making it easier to optimize system efficiency.
Review monthly reports: Generate detailed reports to assess long-term performance trends. Look for patterns that indicate declining efficiency or potential issues.
Reminder: Regular monitoring helps you maintain energy independence by ensuring your solar system consistently meets your power needs.
Best Practices for Maximizing Solar Energy Output
Maximizing solar energy output requires strategic planning and proactive measures. Implement these best practices to get the most from your solar system:
Optimize panel placement: Position your solar panels to receive maximum sunlight throughout the day. Avoid shading from trees, buildings, or other obstacles.
Clean panels regularly: Dirt and debris can block sunlight and reduce energy efficiency. Clean your panels every few months using water and a soft brush.
Upgrade components: If your energy needs increase, consider upgrading to higher-capacity panels or batteries. Ensure compatibility with your existing inverter.
Reduce energy consumption: Use energy-efficient appliances and turn off devices when not in use. Lower consumption helps you achieve energy independence.
Monitor weather conditions: Adjust your energy usage during cloudy or rainy days when solar output may decrease.
Note: Implementing these practices not only boosts system performance but also extends the lifespan of your solar equipment.
Integrating ESTEL inverters with solar panels and batteries is a straightforward process when you follow the steps outlined in this guide. You’ve learned how to assess power needs, select compatible components, and configure your system for optimal performance. By adhering to these instructions, you ensure safety and efficiency while maximizing energy output. Now is the time to take action and explore the benefits of using ESTEL inverters. Start your journey toward a more sustainable future with a reliable solar energy system.
FAQ
What is the lifespan of an ESTEL solar inverter?
The typical lifespan of an ESTEL solar inverter ranges from 10 to 15 years. Regular maintenance and proper installation can extend its durability.
Tip: Schedule annual inspections to identify potential issues early and maximize the inverter's lifespan.
Can I install an ESTEL inverter without professional help?
Yes, you can install it if you have basic electrical knowledge. However, hiring a certified installer ensures safety and compliance with local regulations.
Reminder: Incorrect installation may void the warranty or damage the system.
How do I know if my inverter is working correctly?
Check the inverter’s display panel for operational indicators. Look for energy input/output readings and battery status. Use the monitoring app, if available, for real-time updates.
Note: Error codes or warning lights often signal issues that need attention.
Are ESTEL inverters compatible with all battery types?
ESTEL inverters support most battery types, including lithium-ion and lead-acid. Always verify compatibility by checking the inverter’s specifications and the battery’s voltage and capacity.
Tip: Lithium-ion batteries are more efficient and require less maintenance than lead-acid options.
What should I do if my inverter stops working?
First, inspect the connections and check for error codes on the display. Restart the inverter if necessary. If the issue persists, consult the user manual or contact ESTEL’s customer support.
Emoji Alert: 🛠️ Troubleshooting early can prevent costly repairs!
See Also
Telecom Cabinets Powered By Grid-Connected Solar Inverter Systems
Energy Storage Solutions For ESTEL's Smart Microgrid Telecom Cabinets
Understanding The Integration Of Supervision Systems In ESTEL Cabinets
An Overview Of The Power System In ESTEL Telecom Cabinets
Exploring Energy Storage Batteries Used In ESTEL Telecom Cabinets
CALL US DIRECTLY
86-13752765943
3A-8, SHUIWAN 1979 SQUARE (PHASE II), NO.111, TAIZI ROAD,SHUIWAN COMMUNITY, ZHAOSHANG STREET, NANSHAN DISTRICT, SHENZHEN, GUANGDONG, CHINA
