ESTEL's Step-by-Step Guide to Installing a Telecom Rectifier

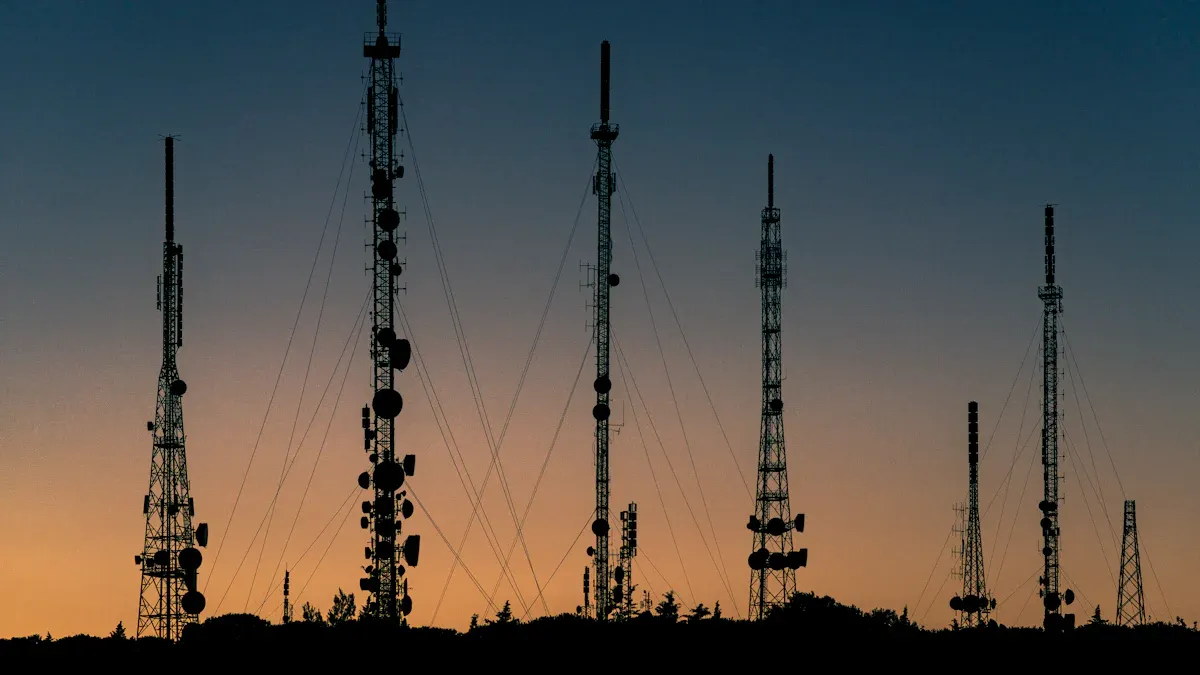
Installing a telecom rectifier correctly ensures uninterrupted power for critical communication systems. Without proper installation, you risk system failures that could disrupt services. The growing telecom power systems market, valued at USD 4.86 billion in 2023, highlights the increasing demand for reliable power solutions. By 2032, this market is projected to surge to USD 36.72 billion, underlining the importance of efficient installations.
You need a guide that simplifies the process. ESTEL, a leader in telecom rectifier solutions, offers expertise that ensures your installation meets safety standards and system requirements. Whether for small-scale setups or large telecom infrastructures, a well-installed rectifier guarantees efficiency and reliability.
Key Takeaways
Learn what a telecom rectifier does. It changes AC power to DC, giving steady electricity for telecom systems.
Check the system details before starting. Make sure voltage and current match to avoid problems.
Be safe while installing. Turn off power, wear safety gear, and ground properly to stay safe.
Test everything carefully after setup. Look at voltage levels and check how it works to keep it running well.
Add a battery backup system. This keeps power on during outages so communication works.
Preparation and System Requirements
Understanding the Role of a Telecom Rectifier
A telecom rectifier plays a vital role in powering communication systems. It converts alternating current (AC) into direct current (DC), ensuring stable power delivery to telecom equipment. This conversion process achieves an efficiency rate of up to 98.5%, minimizing energy loss. The rectifier also regulates voltage levels to protect sensitive equipment from fluctuations. Its modular design allows you to scale power capacity based on your telecom infrastructure needs. Built-in safeguards, such as overload protection and thermal management, enhance reliability and prevent system failures. By integrating seamlessly with telecom systems, the rectifier ensures uninterrupted service and optimal performance.
Reviewing System Specifications and Compatibility
Before installation, verify the telecom rectifier's compatibility with your system. Check voltage and current specifications to ensure proper operation. For example:
Specification | Value |
|---|---|
DC Output Voltage | 48 volts |
DC Output Current | 20 A |
AC Input Voltage | 90 volts |
Maximum Rated AC Current | 13.55/6.33 A |
Efficiency | Up to 96% |
Operating Temperature Range | -40°C to +65°C |
Compliance | NEBS Level 3, CSA/UL Recognized, VDE Certified, GR-3108 compliant, CE Mark for Low Voltage Directive |
Additionally, assess environmental factors like humidity levels and exposure to dust or corrosive elements. Ensure compliance with industry standards such as NEBS Level 3 and GR-3108. These certifications guarantee durability and reliability, even in harsh conditions. Compatibility with transient-voltage protection and electromagnetic interference standards further ensures seamless integration into telecom infrastructure.
Gathering Necessary Tools and Equipment
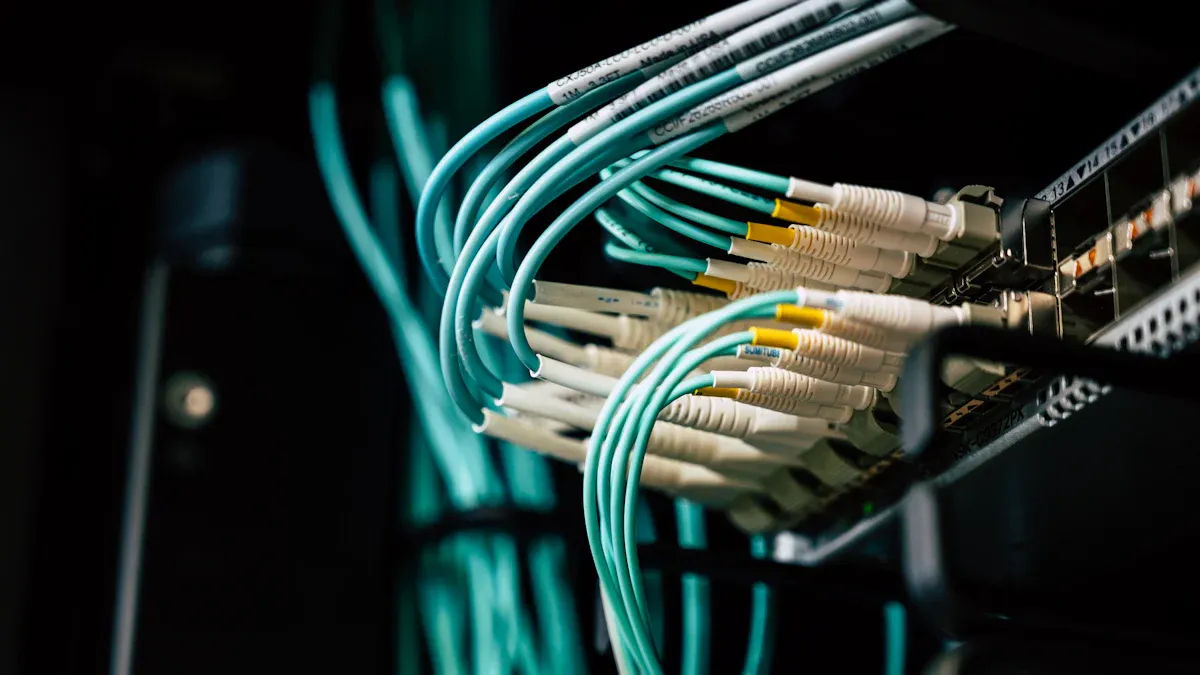
Proper installation requires specific tools and equipment. Start with the telecom rectifier module, which serves as the core component for AC to DC power conversion. Include DC distribution panels, circuit breakers, and fuses to manage power flow effectively. Battery backup systems are essential for maintaining service during outages. Monitoring and control systems help track performance and system health. Efficiency features reduce energy consumption, while modularity allows easy expansion of power systems. Redundancy ensures reliability by preventing single points of failure. Having these tools ready ensures a smooth installation process and long-term system stability.
Ensuring Safety Precautions and Compliance Standards
Safety is a critical aspect of installing a telecom rectifier. Following proper precautions protects you and your equipment from potential hazards. Before starting, ensure you understand the safety guidelines provided in the rectifier’s manual. These instructions are tailored to the specific model you are working with.
Key Safety Measures to Follow:
Power Isolation: Disconnect the power supply before handling any electrical components. This prevents accidental shocks.
Personal Protective Equipment (PPE): Wear insulated gloves, safety goggles, and non-conductive footwear to reduce risks.
Grounding: Verify that all equipment is properly grounded to avoid electrical surges.
Clear Workspace: Keep the installation area free of clutter to prevent tripping hazards or accidental damage to components.
⚠️ Tip: Always double-check connections before powering on the system. A loose wire can lead to short circuits or equipment failure.
Compliance Standards to Consider:
Adhering to industry standards ensures your installation is safe and reliable. Look for certifications like:
NEBS Level 3: Guarantees the rectifier can withstand extreme environmental conditions.
CE Marking: Confirms compliance with European safety and environmental regulations.
UL and CSA Recognition: Indicates the equipment meets North American safety standards.
These certifications validate the rectifier’s quality and durability. They also ensure compatibility with other telecom equipment.
✅ Note: Regularly inspect the rectifier for wear and tear. Routine maintenance helps maintain compliance and extends the system’s lifespan.
By prioritizing safety and compliance, you create a secure and efficient power system. This approach minimizes risks and ensures uninterrupted communication services.
Installation Process
Positioning the Telecom Rectifier Module
The first step in the installation process involves positioning the telecom rectifier module. Proper placement ensures optimal performance and longevity. Begin by selecting a location that meets the environmental requirements specified in the rectifier's manual. The area should be free from excessive dust, moisture, and corrosive elements. Maintaining a stable temperature within the operating range of -40°C to +65°C is crucial for reliable operation.
Install the rectifier module in a rack or cabinet designed for telecom infrastructure. Ensure the mounting brackets align with the rack's dimensions. Use screws or bolts to secure the module firmly in place. This prevents vibrations or movement that could damage internal components. Leave adequate space around the module for ventilation. Proper airflow prevents overheating and maintains the rectifier's efficiency.
⚠️ Tip: Avoid placing the rectifier near heat sources or in direct sunlight. Excessive heat can reduce its efficiency and lifespan.
Connecting the Input Power Supply
After positioning the rectifier, the next step is connecting the input power supply. This step requires precision to ensure safe and efficient operation. Follow the technical guidelines provided in the rectifier's documentation.
Connection Type | Details |
|---|---|
AC Input Interface | L (Line), N (Neutral), PE (Ground) |
Electrical Connection | Includes connection of AC input, DC output, storage battery, communication wire, and grounding wire. |
Safety Precautions | Ensure AC input is powered off, fully insulate terminal contacts, and ground before powering on. |
Start by identifying the AC input interface, which typically includes Line (L), Neutral (N), and Ground (PE) terminals. Connect the AC power cables to these terminals, ensuring a secure and insulated connection. Double-check that the power supply is turned off before making any connections. Proper grounding is essential to protect the rectifier and telecom equipment from electrical surges.
✅ Note: Use a multimeter to verify the voltage levels of the input power supply before connecting it to the rectifier. This ensures compatibility and prevents damage.
Wiring the Output Connections
Once the input power supply is connected, proceed to wire the output connections. These connections deliver DC power to the telecom equipment and battery backup system. Begin by identifying the DC output terminals on the rectifier. These terminals are usually labeled with positive (+) and negative (-) symbols.
Use appropriately rated cables to connect the rectifier's output terminals to the telecom equipment. Ensure the cables can handle the maximum current specified in the system requirements. Secure the connections tightly to prevent voltage drops or power interruptions. If the system includes a battery backup, connect the battery terminals to the rectifier's designated ports. This setup ensures uninterrupted power during outages.
⚡ Reminder: Keep the output cables organized and labeled. This simplifies future maintenance and reduces the risk of accidental disconnections.
Proper wiring of the output connections completes the core installation process. At this stage, your telecom rectifier circuit is ready for testing and validation.
Securing the Rectifier and Ensuring Proper Ventilation
Securing the rectifier and ensuring proper ventilation are critical steps in the installation process. These measures protect the rectifier from physical damage and overheating, which can compromise its performance and the reliability of your telecom infrastructure.
Securing the Rectifier
Properly securing the rectifier ensures it remains stable during operation. Follow these steps to secure the telecom rectifier module effectively:
Use Appropriate Mounting Hardware: Install the rectifier in a rack or cabinet designed for telecom infrastructure. Use screws or bolts that match the mounting brackets to prevent movement or vibrations.
Check Stability: After installation, test the stability of the rectifier by gently applying pressure. A securely mounted rectifier should not shift or wobble.
Protect Against External Damage: Place the rectifier in an area free from potential physical impacts. Avoid locations near high-traffic zones or areas prone to accidental bumps.
💡 Tip: Double-check the alignment of the rectifier with the rack or cabinet to ensure even weight distribution. This prevents strain on the mounting brackets.
Ensuring Proper Ventilation
Ventilation plays a vital role in maintaining the rectifier's efficiency and longevity. Overheating can damage sensitive components and disrupt power delivery to your telecom systems. To ensure proper ventilation:
Choose a Well-Ventilated Location: Place the rectifier in an area with adequate airflow. Avoid enclosed spaces or areas with restricted air circulation.
Inspect and Maintain Cooling Systems: Regularly check the cooling system for wear and tear. Ensure that fans and vents are clean and functioning properly.
Prevent Dust Accumulation: Dust can block vents and reduce airflow. Clean the rectifier and surrounding area periodically to prevent overheating.
⚠️ Note: A malfunctioning cooling system can lead to overheating, which may damage the rectifier. Schedule routine maintenance checks to keep the cooling system in optimal condition.
Industry-Standard Ventilation Practices
Adhering to industry standards ensures your rectifier operates efficiently and safely. Here are some recommended practices:
Regular Inspections: Check the rectifier and its cooling system for dust, debris, or signs of wear.
Maintain Optimal Operating Temperatures: Keep the environment within the rectifier's specified temperature range (-40°C to +65°C).
Ensure Proper Airflow: Avoid placing objects near the rectifier that could obstruct ventilation.
By securing the rectifier and ensuring proper ventilation, you create a stable and efficient power system. These steps protect your telecom infrastructure from potential failures and extend the lifespan of your equipment.
Testing and Validation
Powering On the Rectifier for the First Time
After completing the installation, you need to power on the rectifier for the first time. This step ensures that the system is ready for operation and free from installation errors. Begin by double-checking all connections, including input power, output wiring, and grounding. Loose or incorrect connections can lead to malfunctions or damage.
Once you confirm the connections, switch on the input power supply. Observe the rectifier's indicators or display panel. Most telecom rectifiers feature LED indicators or digital screens that show operational status. Look for signs of normal operation, such as a steady power indicator light or a system-ready message. If the rectifier does not power on, recheck the input power source and connections.
⚠️ Tip: Avoid connecting telecom equipment to the rectifier until you verify its proper operation. This precaution protects your infrastructure from potential issues during the initial power-up.
Checking Input and Output Voltage Levels
Testing voltage levels is a critical step to ensure the rectifier operates within its specified parameters. Use a multimeter to measure the input AC voltage at the rectifier's terminals. The voltage should match the specifications outlined in the rectifier's manual. For example, many telecom rectifiers operate with an input voltage range of 90 to 300 volts AC.
Next, measure the DC output voltage at the rectifier's output terminals. A typical telecom rectifier provides a stable output of 48 volts DC. Verify that the voltage remains steady under no-load conditions. Fluctuations or deviations may indicate installation issues or equipment faults.
✅ Note: Regularly checking voltage levels helps maintain the efficiency and reliability of your telecom infrastructure.
Monitoring Performance Under Load
To test and validate the telecom rectifier, you must monitor its performance under load conditions. Connect the rectifier to your telecom equipment and battery backup system. Gradually apply load to simulate real-world operating conditions. Observe the rectifier's behavior as the load increases.
Modern monitoring tools provide valuable insights into the rectifier's performance. For example:
Monitoring Tool/Technique | Description |
|---|---|
LLVDs | Disconnect non-critical loads at set thresholds to protect battery integrity. |
BLVDs | Activate only when necessary to preserve essential systems. |
Real-Time Monitoring | Utilizes IoT sensors for predictive maintenance by detecting performance shifts. |
AI and Machine Learning | Analyzes historical data to optimize rectifier and battery management. |
These tools help identify potential issues, such as overheating or voltage instability, before they affect your telecom infrastructure. Efficiency testing ensures the rectifier operates at peak performance, minimizing energy loss and maximizing reliability.
💡 Tip: Use real-time monitoring systems to track performance continuously. This proactive approach reduces downtime and extends the lifespan of your telecom equipment.
Troubleshooting Installation Issues
Even with careful preparation and installation, issues can arise during the setup of a telecom rectifier. Identifying and resolving these problems quickly ensures your system operates efficiently. Below are common installation issues and how you can troubleshoot them effectively.
1. Rectifier Fails to Power On
If the rectifier does not turn on after installation, check these areas:
Input Power Supply: Verify that the AC input voltage matches the rectifier's specifications using a multimeter.
Connections: Inspect all input and output connections for loose or improperly secured wires.
Circuit Breakers: Ensure the circuit breakers are not tripped. Reset them if necessary.
⚠️ Tip: Always confirm the power source is active before troubleshooting further.
2. Voltage Fluctuations or Instability
Voltage instability can disrupt your telecom equipment. To address this:
Inspect Wiring: Check for damaged or undersized cables that may cause voltage drops.
Load Balancing: Ensure the connected load does not exceed the rectifier's capacity.
Grounding: Verify proper grounding to eliminate electrical noise or surges.
✅ Note: Use a voltage stabilizer if your power source experiences frequent fluctuations.
3. Overheating Issues
Overheating can damage the rectifier and reduce its lifespan. Troubleshoot by:
Checking Ventilation: Ensure the rectifier has adequate airflow and that vents are not blocked.
Cleaning Dust: Remove dust from fans and vents to improve cooling efficiency.
Monitoring Temperature: Use built-in temperature sensors or external tools to track heat levels.
4. Error Codes or Alarms
Modern rectifiers display error codes to indicate specific issues. Refer to the user manual to decode these alerts. Common errors include:
Error Code | Possible Cause | Solution |
|---|---|---|
E01 | Overload Condition | Reduce the connected load. |
E02 | High Input Voltage | Check and stabilize input power. |
E03 | Fan Failure | Inspect and replace faulty fans. |
💡 Pro Tip: Keep the rectifier's manual handy for quick reference to error codes and troubleshooting steps.
By addressing these common issues, you can ensure your telecom rectifier operates reliably. Regular maintenance and monitoring also help prevent future problems.
Integration into the Communication System
Connecting to the Battery Backup System
Integrating a battery backup system with your telecom rectifier ensures uninterrupted power during outages. This step is crucial for maintaining the reliability of your telecom infrastructure. Start by selecting the appropriate battery type. Valve-regulated lead-acid (VRLA) batteries are a common choice due to their low operating costs and maintenance-free design. However, lithium-ion batteries offer higher energy density and longer life, making them ideal for modern telecom systems.
When connecting the battery backup, follow these steps:
Verify Compatibility: Ensure the battery's voltage and capacity align with the rectifier's specifications. Most telecom systems use 48V battery strings, typically consisting of 24 series-connected cells.
Inspect Battery Terminals: Check for corrosion or damage before making connections. Clean the terminals if necessary to ensure a secure connection.
Connect the Battery: Use appropriately rated cables to link the battery terminals to the rectifier's designated ports. Secure the connections tightly to prevent voltage drops.
Test the Connection: After installation, measure the voltage at the rectifier's battery input terminals. The reading should match the battery's rated voltage.
💡 Tip: Choose batteries with deep cycle capability and a wide operating temperature range. These features enhance performance in remote or off-grid telecom sites.
Proper integration of the battery backup system ensures your telecom infrastructure remains operational during power disruptions. This setup minimizes downtime and protects critical communication systems.
Synchronizing with Communication Equipment
Once the battery backup system is connected, the next step involves synchronizing the rectifier with your telecom equipment. This process ensures seamless power delivery and optimal performance. Begin by identifying the equipment that will receive power from the rectifier. This may include routers, switches, and base transceiver stations (BTS).
Follow these guidelines for effective synchronization:
Check Voltage Compatibility: Verify that the rectifier's DC output voltage matches the input requirements of your telecom equipment. Most systems operate at 48V DC.
Organize Connections: Use labeled cables to connect the rectifier's output terminals to the equipment. This practice simplifies future maintenance and reduces the risk of errors.
Monitor Initial Performance: Power on the telecom equipment and observe its behavior. Look for signs of normal operation, such as stable network connectivity and consistent data transmission.
⚠️ Note: Avoid overloading the rectifier by connecting equipment that exceeds its power capacity. Distribute the load evenly to maintain system stability.
Case studies highlight the benefits of proper synchronization. For example, GreenConnect achieved a 25% reduction in service downtime by integrating high-efficiency rectifiers with renewable energy sources at 500 telecom sites. This approach not only improved reliability but also reduced energy costs and carbon emissions.
By synchronizing the rectifier with your communication equipment, you create a robust telecom infrastructure capable of handling modern demands.
Configuring System Settings
Configuring the rectifier's system settings is the final step in the integration process. Proper configuration optimizes performance and ensures compatibility with your telecom infrastructure. Modern rectifiers, such as ESTEL Delta models, feature advanced settings that enhance efficiency and reliability.
Key configuration steps include:
Set Output Voltage and Current Limits: Adjust the rectifier's settings to match the requirements of your telecom equipment. For example, set the output voltage to 48V DC and the current limit based on the connected load.
Enable Monitoring Features: Activate real-time monitoring tools to track performance metrics, such as input voltage, output current, and temperature. These tools provide valuable insights for maintenance and troubleshooting.
Integrate with Smart Grids: If your telecom system uses a smart grid, configure the rectifier's digital control system for real-time communication. This integration enhances power management and reduces energy waste.
Test the Configuration: After making adjustments, test the rectifier under load conditions. Verify that all settings function as intended and that the system operates efficiently.
Feature | Description |
|---|---|
Efficiency Ratings | ESTEL Delta rectifier models achieve efficiency ratings above 95%, minimizing energy losses. |
Durability | Engineered to withstand extreme conditions, ensuring reliable operation in high temperatures and humidity. |
Maintenance Features | Tool-less access for inspections, self-diagnostic systems for real-time alerts, and standardized components for easy sourcing. |
Integration with Smart Grids | Modern rectifiers feature digital control systems for real-time communication with smart grids, enhancing power management. |
✅ Pro Tip: Regularly update the rectifier's firmware to access the latest features and security enhancements.
By configuring the system settings correctly, you maximize the rectifier's efficiency and ensure seamless integration into your telecom infrastructure. This step completes the installation process, paving the way for reliable and uninterrupted communication services.
Conducting Final System Checks
After completing the installation and integration of your telecom rectifier, conducting final system checks ensures everything operates as intended. This step verifies the stability and reliability of your power system before it becomes fully operational. Follow these steps to perform a thorough evaluation.
1. Inspect All Connections
Begin by visually inspecting all connections. Check the input and output terminals for secure and tight wiring. Loose connections can lead to voltage drops or interruptions in power delivery. Ensure the grounding wire is properly attached to prevent electrical surges.
💡 Tip: Use a torque wrench to tighten connections to the manufacturer’s recommended specifications. This prevents over-tightening, which could damage components.
2. Verify Voltage and Current Levels
Use a multimeter to measure the input and output voltage levels. Confirm that the input voltage aligns with the rectifier's specifications, typically within the range of 90 to 300 volts AC. Next, check the DC output voltage, which should remain stable at 48 volts. Monitor the current levels to ensure they match the load requirements of your telecom equipment.
Parameter | Expected Value |
|---|---|
Input Voltage (AC) | 90-300 volts |
Output Voltage (DC) | 48 volts |
Output Current | As per load |
⚠️ Note: If you notice any fluctuations in voltage or current, recheck the wiring and load distribution.
3. Test Backup Power Functionality
Simulate a power outage to test the battery backup system. Disconnect the AC input and observe how the rectifier switches to battery power. The transition should be seamless, with no interruptions to your telecom equipment. Monitor the battery voltage and ensure it remains within the acceptable range.
✅ Pro Tip: Regularly test the backup system to ensure it remains functional during emergencies.
4. Monitor System Performance
Activate the rectifier under normal operating conditions and monitor its performance. Use built-in monitoring tools or external software to track key metrics such as temperature, efficiency, and load capacity. Look for any warning indicators or error messages on the rectifier's display panel.
5. Conduct Load Testing
Gradually increase the load on the rectifier to simulate real-world conditions. Observe how the system handles the increased demand. Ensure the rectifier maintains stable output voltage and current without overheating. Load testing helps identify potential weaknesses in your power system.
💡 Tip: Use a programmable load bank for precise control during load testing.
6. Review Compliance and Safety Standards
Finally, confirm that the installation meets all compliance and safety standards. Check for certifications such as NEBS Level 3 and CE marking. These standards ensure the rectifier operates safely and reliably in your telecom infrastructure.
By conducting these final system checks, you can ensure your telecom rectifier operates efficiently and delivers uninterrupted power to your communication systems. This step completes the installation process and sets the foundation for a reliable telecom network.
Installing a telecom rectifier involves four essential steps: preparation, installation, testing, and integration. Each step ensures your system operates efficiently and reliably. By following safety guidelines and adhering to system specifications, you protect your equipment and maintain uninterrupted communication services.
If you encounter challenges or need expert advice, ESTEL offers resources and support to guide you. Reach out to their team for assistance or explore their solutions to enhance your telecom infrastructure.
FAQ
What is the primary function of a telecom rectifier?
A telecom rectifier converts AC power into DC power to supply stable electricity to telecom equipment. It ensures uninterrupted operation by regulating voltage and protecting against power fluctuations.
Can I install a telecom rectifier without professional help?
Yes, you can install it if you follow the manufacturer’s manual and safety guidelines. However, consulting a professional ensures proper setup and compliance with industry standards.
How often should I maintain my telecom rectifier?
Perform maintenance checks every 6 to 12 months. Inspect connections, clean vents, and test voltage levels to ensure optimal performance and prevent unexpected failures.
What tools do I need for installation?
You’ll need a multimeter, insulated screwdrivers, cable ties, and appropriately rated cables. A torque wrench is also helpful for securing connections to the recommended specifications.
How do I troubleshoot a rectifier that won’t power on?
Check the input power supply and connections. Ensure the circuit breakers are not tripped. Use a multimeter to verify voltage levels. If the issue persists, consult the user manual or contact technical support.
💡 Tip: Always double-check grounding and wiring before powering on the rectifier.
See Also
Essential Insights for Newcomers on Telecom Power Supplies
Choosing and Installing Telecom Cabinets on Poles Safely
Calculating Power Systems and Batteries for Telecom Cabinets
Simplified Steps for Installing ESTEL Outdoor Telecom Cabinets
Complete Overview of Wiring and Cable Choices for Telecom Cabinets
CALL US DIRECTLY
86-13752765943
3A-8, SHUIWAN 1979 SQUARE (PHASE II), NO.111, TAIZI ROAD,SHUIWAN COMMUNITY, ZHAOSHANG STREET, NANSHAN DISTRICT, SHENZHEN, GUANGDONG, CHINA