How to Design Smart PDUs with Pry-Proof Housing and Displacement Sensors for Dual Anti-Theft Tamper Prevention

A pry-proof housing and displacement sensors create layered protection that neither mechanism delivers alone. The housing delays forced entry, and the sensors report any movement the housing cannot stop. You face a real balancing act here: physical hardening, sensor sensitivity, integration complexity, and cost all pull against each other. This guide gives you practical steps for housing design, sensor selection and placement, controller integration, dual-logic coordination, and compliance. ESTEL's work with outdoor telecom cabinets and power systems shapes these recommendations. That field experience with anti-theft locks and weatherproof construction translates directly into smarter rack-level protection for your Smart PDU designs.
Key Takeaways
Combine a pry-proof housing with displacement sensors for layered anti-theft protection.
Design the housing with reinforced steel, recessed locks, and anti-pry flanges to delay attackers.
Place sensors at seams, door edges, and rack-mount points to detect tampering.
Integrate sensor data into your Smart PDU for centralized alerts and remote response.
Coordinate dual-detection logic with latching alarms and clear escalation paths for effective response.
Pry-Proof Housing Design
Materials and Structural Features
Start with the steel skin. A pry-proof PDU housing uses an outer steel skin over an internal reinforcement grid or frame. Hot-dip galvanizing or an anti-corrosion powder coating extends service life in harsh climates. These finishes also affect maintenance cycles, UV stability, and corrosion resistance, so they influence lifecycle cost.
Structural features matter as much as the material. Multi-point locking, reinforced hinges, and anti-pry flanges raise the security rating well above a single-point latch. The table below shows how each hardware element blocks a specific attack.
Hardware element | Protection method |
|---|---|
Lock body | Recessed inside the door leaf so pliers cannot grip it |
Lock components | Hardened steel resists drilling, sawing, and snapping |
Frame interface | Anti-pry interlocking flanges and deep receivers |
Latch point | Reinforcement lock-bars prevent bending |
Choose tamper-resistant fasteners for the panel screws. One-way fasteners, Tri-Wing heads, spanner inserts, and shear screws all defeat a standard screwdriver. A Pin Torx or Pin Hex head adds a central security pin that blocks conventional bits.
Testing and Validation
Validate the housing with forced-entry tests, not datasheets alone. In a rack load test, you restrain the panel at one end, support a third corner, and apply measured loads at the fourth corner. This evaluates door, hinge, and frame strength in a standardized way. In a door impact test, a steel pendulum delivers impacts of 200 foot-pounds, and the door must remain fully operable afterward.
Then verify the seal. Run IP ingress testing to IEC 60529, damp-heat cycling to IEC 60068-2-30, and salt spray to ASTM B117. Cycle-test the locks and hinges, because repeated opening compresses the gasket. ESTEL's IP55 outdoor cabinets with anti-theft locks show how this combination holds up in the field. A component rated IP66 does not make the whole enclosure IP66, so test the complete assembly.
Displacement Sensor Selection and Placement
Sensor Types and Sensitivity
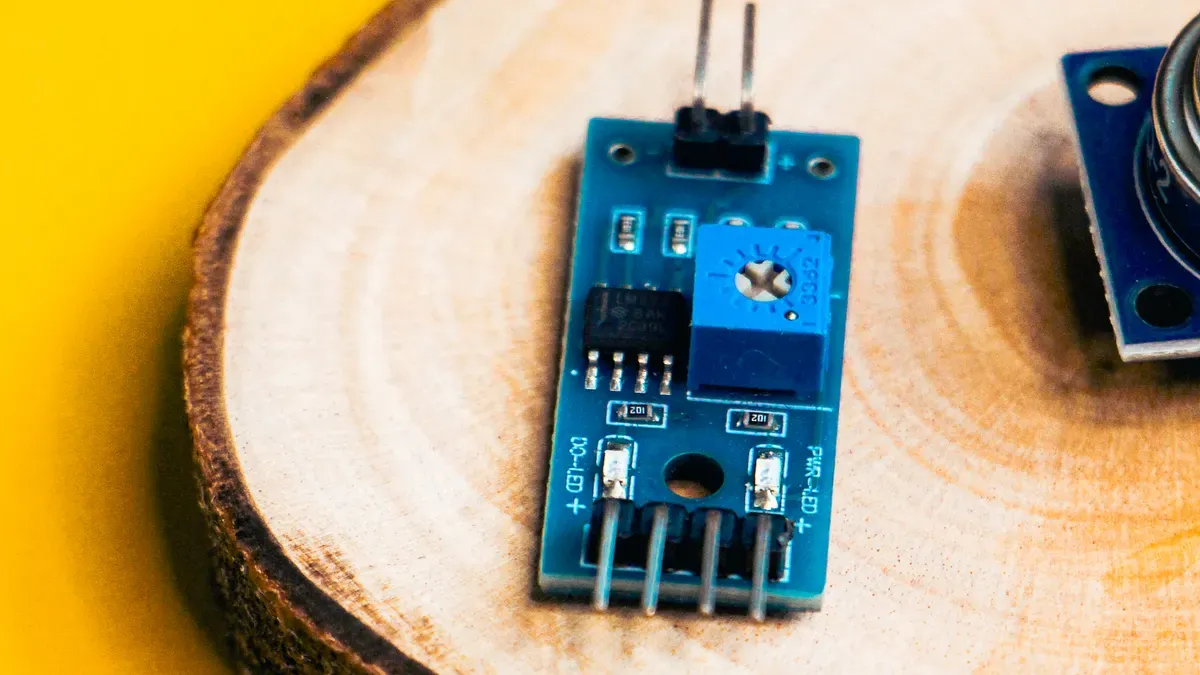
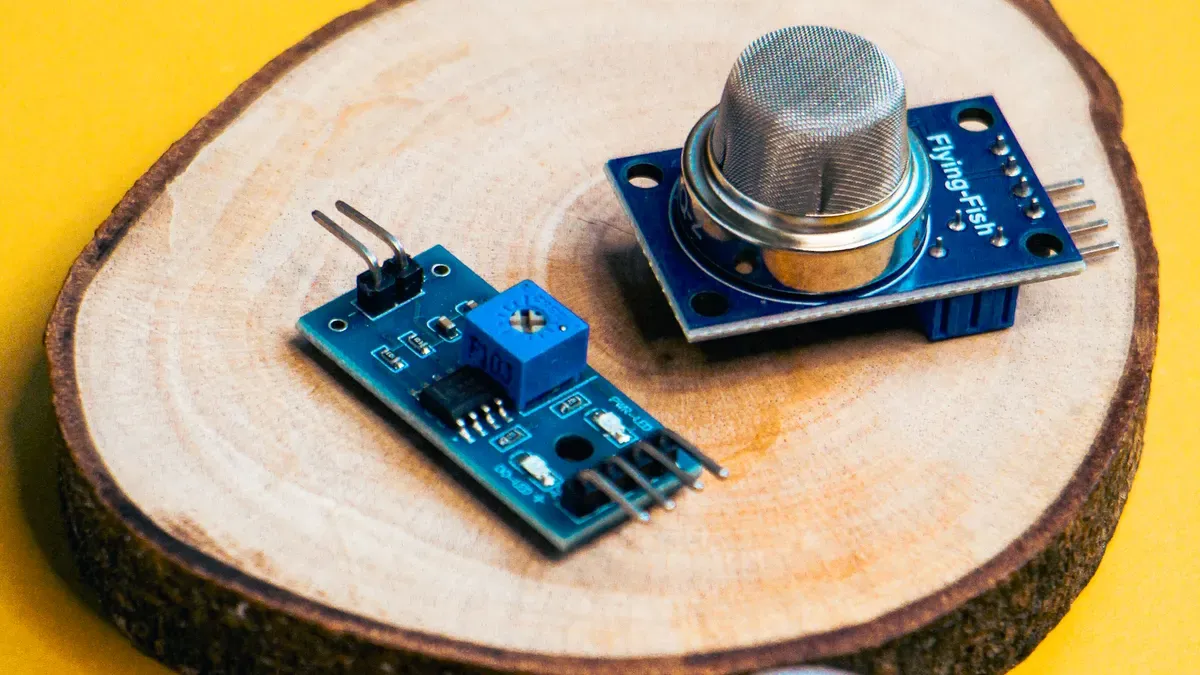
Each sensor type answers a different question. A Hall-effect switch with a magnet detects case opening. A precision tamper switch reports a pressed or released plunger. A tilt or accelerometer sensor catches displacement of the whole unit. Motion sensors watch the space around the rack.
Sensor type | What it detects | Sensitivity tradeoff |
|---|---|---|
Hall-effect switch with magnet | Door or panel opening | Clean switching, but needs careful magnet alignment |
Precision tamper switch | Plunger release at seams | Very repeatable, limited travel range |
Tilt or accelerometer | Unit displacement or tilt | Catches removal attempts, needs filtering against vibration |
Motion sensor | Movement near the rack | Wide coverage, higher nuisance-alarm risk |
Vibration is your main enemy in a data center. Fans, cooling units, and foot traffic all create movement. A sensor set too sensitive will cry wolf. Set thresholds with margin, and test them under real rack conditions before you commit.
Mounting and Placement
Place sensors where an attacker must act. Housing seams, door edges, and rack-mount points are the natural spots. Route wiring along the frame and away from sharp edges and heat sources. Keep cable runs short to reduce noise pickup.
Prototype the logic before production. A breadboard build with an Arduino Uno and a force sensitive resistor reads through a 10kΩ pull-down into analog pin A0. Record the resting range for about 30 seconds, then set thresholds with a roughly 30-point buffer against vibration. A PIR module such as the HC-SR501 offers a 110° field of view and up to 7 m range, with a 3-second warm-up and an adjustable 5-second alarm. Expect about 377 ms response and full detection accuracy to 3.5 m. Add a relay to trigger a camera, then move to a custom PCB and battery power once the logic holds.
Integrating Sensors into Smart PDUs
Wiring, Power, and Communication
Plan the sensor bus before you drill a single hole. Displacement switches draw very little current, so a shared low-voltage bus keeps wiring simple. Daisy-chain the sensors along the housing frame and terminate the run at the controller. Keep the sensor power rail separate from the mains feed to avoid noise on the signal lines.
Communication ties the sensors to your management stack. A Smart PDU exposes sensor data through SNMP, Modbus/TCP, or a RESTful API, so your DCIM or BMS platform sees power and environmental readings in one interface. Threshold-based alerts fire when a monitored value crosses a configured limit, such as current draw above 80% of rated capacity or a temperature above ASHRAE ranges. Alerts can travel as SNMP traps, email, SMS, or Syslog. A serial console or secondary network path keeps control alive when the primary network fails.
Firmware and Event Handling with ESTEL's Smart Power Distribution Unit
Firmware turns raw sensor signals into trustworthy events. Add debounce logic so a brief vibration does not trigger an alarm. Log every event with a timestamp, and let users configure thresholds per sensor. A plug-and-play sensor bus helps here, because the firmware already knows each sensor's parameters.
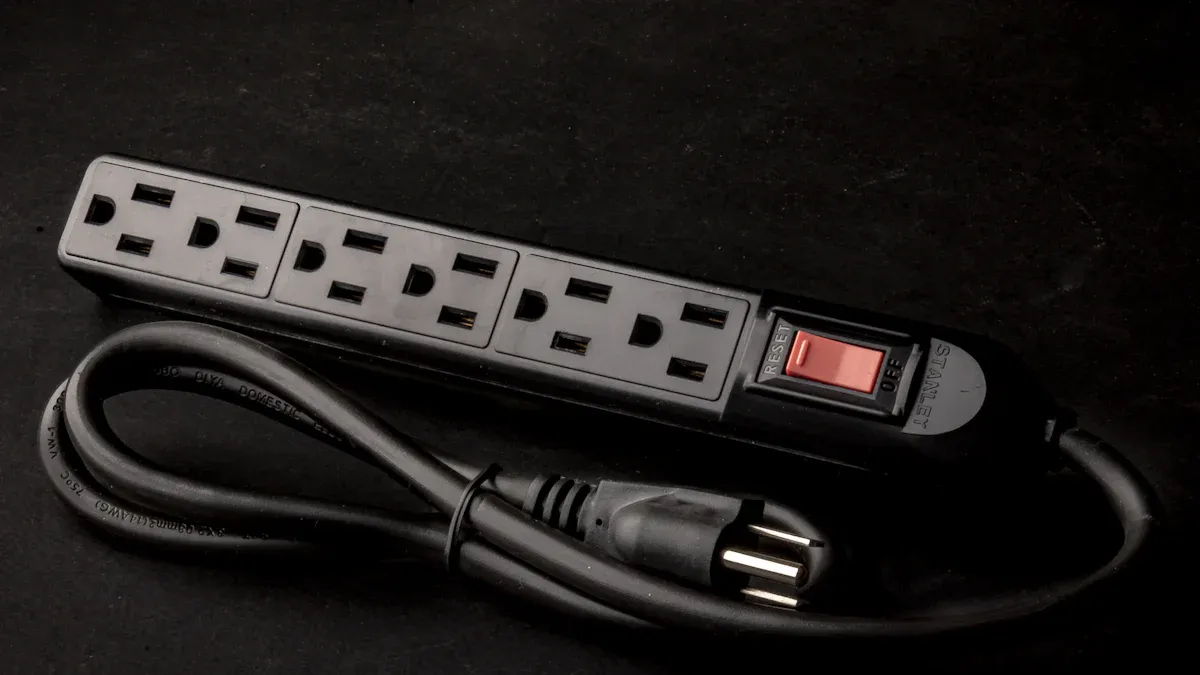
ESTEL's Smart Power Distribution Unit gives you a practical platform for this work. It offers remote control, LCD monitoring, a 16A input, and 8–19 outlet configurations. Its dehumidifying function also shows how environmental control and sensing share one controller. You can route displacement events into the same alerting path as power and humidity thresholds, then manage everything remotely.
Dual Anti-Theft Logic Coordination
Combined Detection and Alerting
The housing and the sensors play different roles in one system. The pry-proof housing deters an attacker and buys time. The displacement sensors report any opening or movement the housing cannot prevent. Neither layer works well alone: a strong housing with no sensing gives you no record of an attempt, and sensors without a hardened enclosure trigger only after the attacker has already reached the hardware.
Combined detection logic links the two layers. Treat a door opening as one event and a unit displacement as another. A latching model holds the alarm state once either sensor trips, so a brief signal cannot clear itself. This mirrors dual-sensor latching security designs, where two independent channels must both return to rest before the system resets. Require a deliberate reset action rather than an automatic timeout.
Alerting should reach several channels at once. A local alarm warns anyone on site. An SNMP trap pushes the event into your network management platform. Email and SMS reach the on-call engineer. Send all three from the same event so no single path can fail silently. Your Smart PDU controller can carry these alerts alongside its power and environmental thresholds, which keeps one dashboard for every alarm.
A sensor event without a logged timestamp is an anecdote. A sensor event with a timestamp, a channel, and a latch state is evidence.
Response and Recovery Workflows
Define the escalation path before you deploy. A first-level alert notifies the on-call engineer. An unacknowledged alert escalates to the security team after a set interval. A confirmed intrusion attempt escalates to site security and management together. Write these steps down and test them, because a workflow nobody has rehearsed fails under pressure.
Remote response options give you control without a site visit. You can trigger a remote lockout on the affected circuit or power down selected outlets through the PDU controller. Power-down protects the equipment and removes the attacker's reward. Use it with care, since it also takes critical loads offline. Restrict this action to authorized roles and log every command.
Incident logging closes the loop. Record the sensor identity, the event time, the alert channels fired, and the operator response. After the incident, inspect the housing for pry marks, bent flanges, or damaged fasteners. Check the sensor alignment and confirm the latch state cleared. Replace any deformed hardware rather than bending it back. Reset the system only after the inspection passes, then update your thresholds if the event revealed a gap.
Smart PDU Compliance and Cost
Standards and Certification Paths
Build your compliance plan around the standards your customers will actually check. The table below maps the common paths to their role in a Smart PDU design.
Standard / Certification | Role in PDU compliance |
|---|---|
IEC 60309 | Confirms the industrial power input connector standard, such as a 32A IEC60309 plug |
ISO 9001 | Quality management system certification covering manufacturing quality |
UL / CE / RoHS | Safety, conformity, and materials compliance for PDU products |
IEC CB Scheme / IEC 62443-4-2 | International conformity and industrial cybersecurity standards |
Verify the IP rating of the complete assembly, not just the components. A component rated IP66 does not make the whole enclosure IP66, so test the finished housing to IEC 60529.
Metering depth changes your security scope. A metered PDU exposes aggregate power data, so strong credentials, network segmentation, and regular firmware updates cover most of the risk. A switched PDU adds remote outlet control, which raises the stakes. Disable unused services such as Telnet and use encrypted protocols like HTTPS and SSH. An intelligent PDU with outlet-level monitoring and control carries the highest risk, so add multi-factor authentication, role-based access control, audit logging, and vulnerability scanning. Configurable firewalls and customized SSL certificates let the unit protect itself and the data behind it.
Cost Balancing Across the Design
Pry-proof housing costs sit in material and tooling. Reinforced seams, recessed locks, and anti-pry flanges need custom dies, so the first production run carries most of the tooling burden. Sensor units are the cheapest line item, yet placement and wiring labor often outweigh the parts themselves. Firmware development for debounce logic, event logging, and alert routing is a one-time engineering cost that spreads across every unit you ship. Certification adds a fixed cost per standard and per market.
Match each option to its setting. A metered PDU with a hardened housing fits sites with moderate risk and tight budgets. A switched or intelligent unit with full sensor integration suits mission-critical racks where downtime costs more than the hardware. Neither choice is wrong; the risk profile decides.
Treat the housing and the sensors as one coordinated system, not two separate purchases. Follow the design sequence:
Harden the housing with reinforced steel, recessed locks, and anti-pry flanges.
Select and place displacement sensors at seams, door edges, and rack-mount points.
Integrate wiring, power, and firmware into the controller.
Coordinate dual-detection logic with latching alarms and escalation paths.
Validate the finished design against standards and cost targets.
Deterrence delays an attacker. Detection reports the attempt. Together they deliver stronger anti-theft protection than either layer alone. Your Smart PDU deserves both. ESTEL's outdoor cabinet experience can help you bring this design to production.
FAQ
Do I really need both a hardened housing and displacement sensors?
Yes. The housing delays an attacker and buys response time. Sensors report any opening or movement the housing cannot stop. A strong housing alone leaves no record of an attempt. Sensors alone trigger only after someone reaches the hardware. Pair them for deterrence plus detection.
How do I stop vibration from causing false alarms?
Set thresholds with margin and test them under real rack conditions. Record the sensor's resting range first, then apply a buffer against fan and foot-traffic vibration. Add debounce logic in firmware so a brief signal does not latch an alarm. A latching model holds the state until a deliberate reset.
Which Smart PDU features support sensor integration?
Look for remote control, LCD monitoring, and a 16A input with 8–19 outlet configurations. SNMP and Modbus connectivity carry sensor events into your management platform. ESTEL's Smart Power Distribution Unit also includes a dehumidifying function, which shows how environmental sensing and control share one controller.
When should I schedule testing and certification?
Test early, not at the end. Run forced-entry and door impact tests on the housing, then verify the complete assembly to IEC 60529 for its IP rating. Cycle-test locks and hinges, since repeated opening compresses the gasket. Plan ISO 9001 and IEC 60309 compliance alongside the design, not after tooling.
See Also
Effective Methods to Enhance Anti-Theft Features for Communication Cabinets
Professional Advice for Protecting Communication Cabinets in Dangerous Locations
Ways to Protect Outdoor Communication Cabinets Against Vandalism Damage
Methods to Safeguard Equipment Using Outdoor Telecom Cabinets
Guide to Installing and Maintaining Smoke Sensors in Communication Cabinets
CALL US DIRECTLY
86-13752765943
3A-8, SHUIWAN 1979 SQUARE (PHASE II), NO.111, TAIZI ROAD,SHUIWAN COMMUNITY, ZHAOSHANG STREET, NANSHAN DISTRICT, SHENZHEN, GUANGDONG, CHINA
