How to Design Smart PDUs with Pry-Proof Housing and Displacement Sensors for Dual Anti-Theft Tamper Prevention

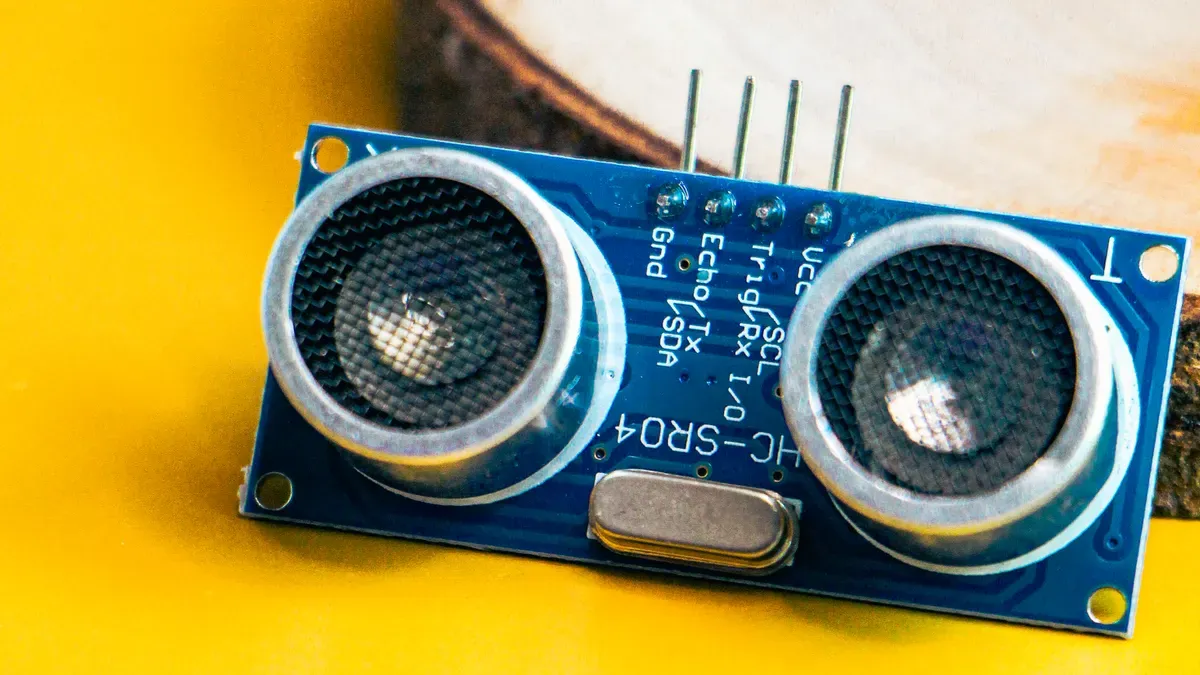
A pry-proof housing gives you mechanical resistance. Displacement sensors give you electronic detection. Design a Smart PDU around both from the start, and tampering becomes hard to commit and hard to hide.
Consider a rack-mounted unit in a remote cabinet. A thief pries the door, unbolts the PDU, and slips it out. A strong enclosure alone only slows this down. Sensors alone report nothing until someone opens the door. Each layer covers the other's blind spot.
You will work through threat modeling, housing design, sensor integration, dual-layer alert logic, validation, and cost trade-offs. ESTEL's outdoor cabinet and power distribution experience shapes this guidance.
Key Takeaways
Combine a strong housing with displacement sensors to make tampering hard to commit and hard to hide.
Start with a threat model to define attack scenarios and set clear pass/fail specs for your design.
Place sensors at seams, mounting points, and door edges, and calibrate them to avoid false alarms.
Use two sensors on the same opening and latch alarms so a single fault cannot defeat the system.
Match your security level to the site: entry-level for indoor racks, high-security for remote outdoor cabinets.
Smart PDU Threat Model and Requirements
Define Attack Scenarios
You cannot design effective protection until you know what you are defending against. Start with four concrete attack scenarios. First, forced prying of the enclosure: an attacker inserts a tool into a seam or door edge and works the housing open. Second, removal of the unit from its rack or cabinet mount: someone unbolts or unscrews the PDU and carries it away. Third, opening of an access door: a service panel or front door is forced or picked. Fourth, cable or plug disconnection: power or data lines are pulled to disable monitoring before the theft.
Each scenario maps to a design requirement. Forced prying demands a mechanical resistance level tied to the expected tool set and attack duration. Unit removal demands mounting-point detection and a lockable fastener strategy. Door opening demands a sensor at every access edge. Cable disconnection demands power-backup behavior so the unit can still report an event after losing mains power. Detection latency and the alert pathway follow from how fast you need to know and who needs to act.
Set Mechanical and Electronic Specs
Deployment context sets your targets. A remote outdoor site has no staff on hand, so you need longer detection latency tolerance, a cellular or network alert pathway, and battery-backed reporting. A controlled data center has staff nearby, so shorter latency and local alarm integration may suffice. Neither context is inherently better; each fits a different operating model.
Translate these targets into specs you can test. Mechanical resistance becomes a pry-gap limit and a fastener torque spec. Electronic detection becomes a sensor count, a trigger threshold, and a reporting interval. Power-backup behavior becomes a hold-up time requirement for the reporting circuit. Write each spec as a pass/fail criterion before you select hardware. This discipline keeps the Smart PDU design honest and gives your validation team a clear benchmark.
Pry-Proof Housing Design with ESTEL
Materials and Structural Geometry
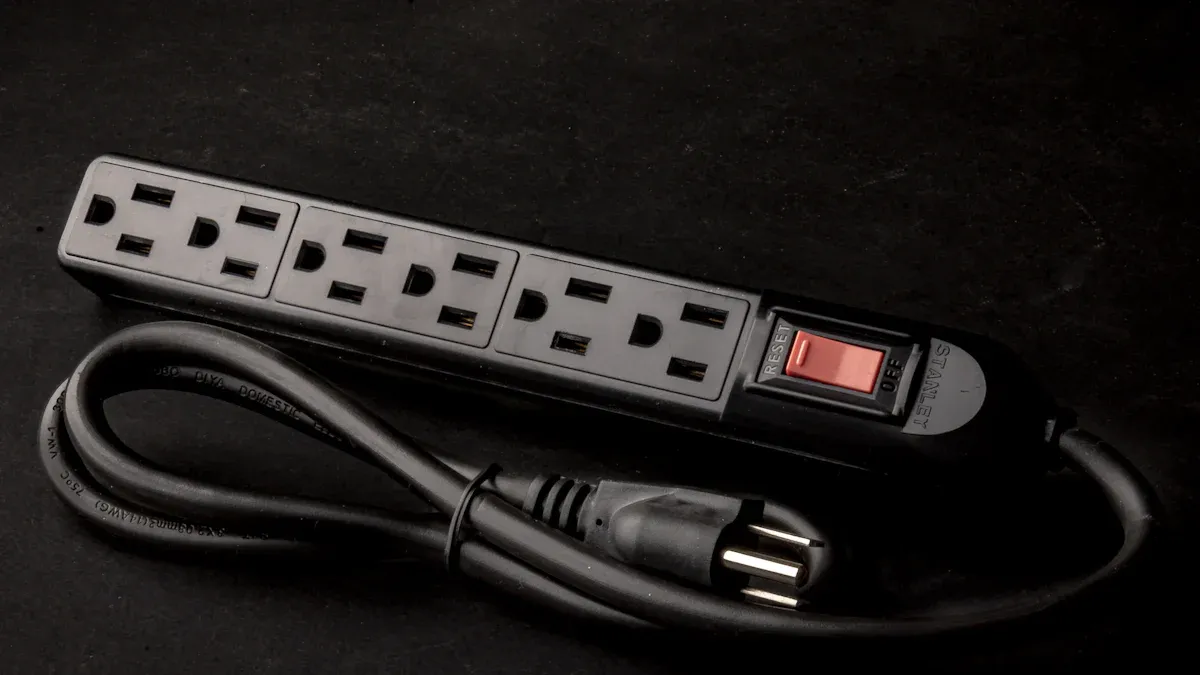
Material choice sets the baseline for pry resistance. Reinforced steel gives you high strength at moderate weight and cost, and it holds up well outdoors when you protect it properly. Folded seams add stiffness along door edges and corners, where prying tools do their work. Keep pry gaps as small as your manufacturing tolerance allows, because a wide gap invites a tool tip. Anti-corrosion powder coating extends outdoor service life and keeps the housing intact through wet and salty conditions. ESTEL's IP55 outdoor cabinet construction and anti-theft locks offer a practical reference point for this combination.
Seam construction matters as much as panel thickness. Continuously welded seams resist prying better than panels joined with rivets or screws. Where you need removable panels, place fasteners on the interior side whenever possible. This single decision removes the attacker's easiest grip point and forces access through a controlled opening.
Balance these choices against deployment needs. Heavier steel and welded seams raise strength and outdoor durability, but they add weight and cost. Thinner panels with folded geometry save weight and suit controlled indoor racks. Neither approach wins everywhere; match the structure to the site.
Access Control and Fasteners
Locks and fasteners decide how long the housing resists once someone reaches it. Keyed locks stay reliable during power loss, but a lost key becomes a serious risk. Use restricted keying and rekey immediately after any suspected compromise. Coded locks suit sites with changing staff, provided you use a covered keypad, changeable codes, and codes shared through a separate channel.
Control Area | Best Practice |
|---|---|
Keyed locks | Use restricted keying and strict key control; rekey after suspected compromise |
Coded locks | Use a covered keypad with changeable codes; avoid guessable codes |
Tamper-resistant fasteners | Match fasteners to the mounting material; inspect anchors monthly |
Hinge protection | Check hinge strength, alignment, and corrosion resistance regularly |
Layered access control | Assign rights by role, keep an access log, use dual control for sensitive keys |
Hinge protection deserves equal attention. Hardened hinge pins and armored face plates slow forced entry, and sealed seams with corrosion-resistant finishes extend service life. Verify the housing stays secure during a power loss, and test opening with gloves in poor lighting to confirm usability.
High security always requires multiple layers to deter, detect, delay and defend against felonious attacks.
Remember that a door assembly takes the grade of its lowest-rated component. A high-security cylinder in a weak lock on a soft opening defeats the purpose. Check that mounting surfaces and anchors are structurally sound, because a strong door cannot compensate for weak masonry.
Displacement Sensors and Smart Power Distribution Unit Integration
Sensor Types, Placement, and Calibration
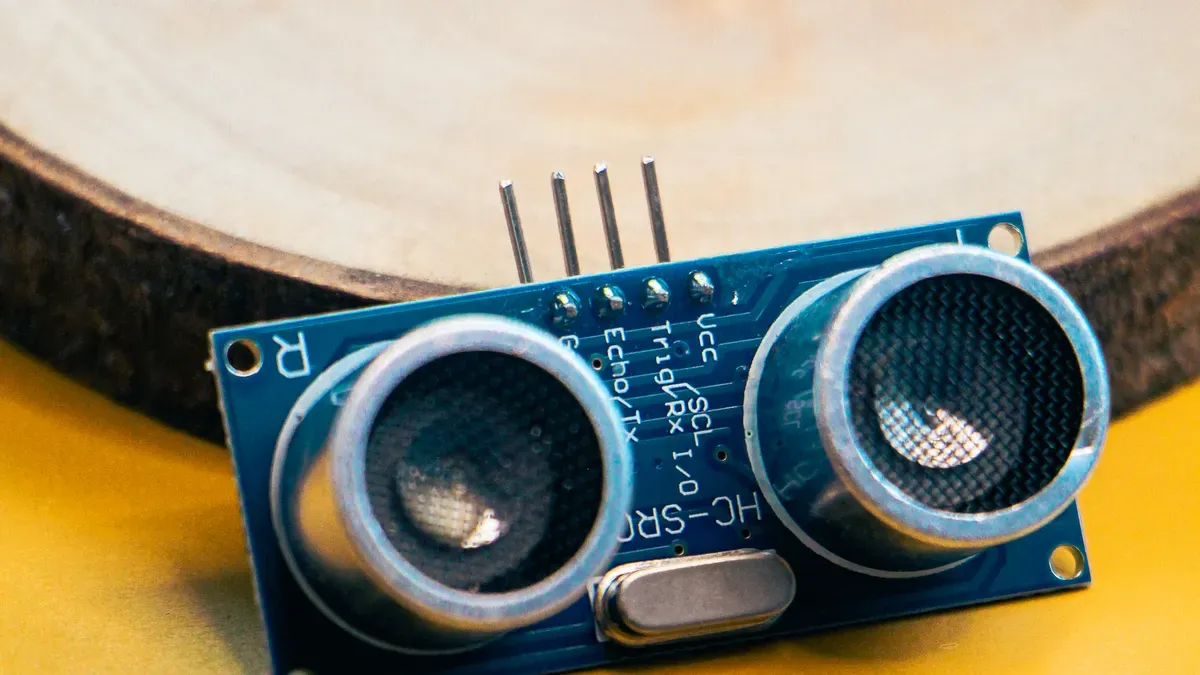
You have three practical sensor options. A Hall-effect switch paired with a mounted magnet detects door opening without physical contact, so it wears slowly and tolerates dirty environments. A mechanical displacement switch costs less and suits simple open/closed reporting. Multi-sensor incident detection combines several sensing points into one event stream, which helps you confirm a real intrusion instead of a single noisy trigger.
Placement decides whether detection works. Put sensors at housing seams, mounting points, and door edges, because these are the points an attacker must disturb. The table below summarizes placement and nuisance-alarm guidance.
Location / Scenario | Placement & Hardware Guidance | Nuisance-Alarm Mitigation |
|---|---|---|
Door edges (general swing doors) | Set sensor-to-magnet gap within rated range; verify with feeler gauges at critical temperature, not just at installation ambient | Apply a zone debounce filter (~350 ms) so momentary displacement during a door swing arc is rejected while a genuine held-open forced entry is still caught |
Door edges (exterior steel-frame doors) | Use wide-gap hardware (≥1/2 in tolerance); add 3–6 mm HDPE/nylon non-magnetic isolation spacers between sensor and steel frame | Recalibrate IACP debounce to 250–300 ms to absorb residual reed chatter; cross-check alarm timestamps against temperature logs (clustering below ~32°F indicates thermal contraction) |
Door edges (seasonal climates >80°F range) | Set gap at midpoint of rated range at mid-range ambient (55–65°F); confirm gap at thermal extremes with feeler gauges | Choose a sensor whose rated gap accommodates full thermal displacement in both directions (e.g., ~0.014 in steel door expansion over 120°F) |
Mounting points (roll-up dock doors) | Mount wide-gap armored contacts (2 in tolerance) at 7-ft height on the guide rail frame; use structural epoxy with mechanical backing plate, not self-tapping screws; route cable in 1/2-in liquid-tight flexible conduit with loop length for full travel plus 15% slack | Avoid below-7-ft mounting (ambiguous readings during partial-open forklift states) and above-7-ft mounting (cable drum play reduces reliability); epoxy mounting resists vibration that loosens screws in 6–8 weeks |
Housing seams / high-vibration zones | Add piezoelectric shock sensors at ground level on high-risk positions, calibrated above the ambient vibration baseline measured during normal operations | Threshold must exceed the site-specific vibration floor (e.g., rail-adjacent warehouse vs. quiet office) to prevent continuous false alarms from passing traffic |
Calibrate against your site, not the datasheet alone. Measure the vibration floor during normal operations and set shock thresholds above it. Verify gaps at thermal extremes with feeler gauges, because a gap that passes at installation ambient can fail in a cold snap.
Alert Logic and Redundancy
The Smart PDU's remote management and intelligent protocols carry sensor events to your monitoring platform. Wire two sensors to the same opening and latch both through a low-cost microcontroller. A defeated sensor then cannot defeat the system, because the second sensor still reports the event. Latch the alarm state so a brief trigger stays visible until an operator acknowledges it.
Environmental sensors can share the same monitoring path. Temperature and humidity readings travel alongside displacement events, and the dehumidifying function keeps internal electronics within a reliable operating range. One Smart PDU therefore reports intrusion and environment together, which simplifies fleet monitoring.
Validation, Compliance, and Cost Trade-Offs
Tamper Simulation and Compliance Testing
Test the design against the same scenarios you modeled. Run pry attempts at every seam and door edge with the tool set you expect. Attempt forced removal at each mounting point. Try magnet defeat on the Hall-effect switches. Inject sensor faults by disconnecting one sensor and confirming the second still reports. Tie every test to a pass/fail criterion from your threat model, such as a pry-gap limit or a maximum detection latency.
Compliance testing follows the same discipline. IEC 60529 defines the IP Code, with the first digit covering solids and dust and the second covering moisture and liquids. IP55 is the widely accepted minimum for outdoor substations, protecting against dust ingress and water projected from any direction. Add safety certifications, EMC testing, and ISO9001 quality management to your test plan. Treat data privacy for remote monitoring as a design requirement, not an afterthought.
Cost Versus Performance Balance
Cost drivers stack up quickly: housing material, sensor count, the microcontroller, and validation time. Each one buys a specific performance gain. Heavier steel and welded seams raise pry resistance and outdoor durability. A second sensor and a latching microcontroller add redundancy. Extended tamper simulation catches design gaps before deployment.
Match the configuration to the site. An entry-level build with a single sensor and standard fasteners suits a controlled indoor rack with staff nearby. A high-security build with multi-sensor detection, armored hinges, and full fault-injection testing fits a remote outdoor cabinet. Neither option is wrong; each fits a different risk profile. Weigh the cost of each layer against the loss it prevents, then let your threat model decide.
Follow this sequence to build dual-layer tamper protection into your design:
Model the threat.
Harden the enclosure.
Instrument the housing.
Unify the alert logic.
Validate and cost-optimize.
The dual-layer approach keeps tampering detectable even when the housing is eventually defeated. ESTEL's Smart PDU design and integration support fits directly into this workflow.
Remote monitoring and fleet-scale deployment will keep raising the bar. Review your current PDU designs against these steps today.
FAQ
Do you really need both a pry-proof housing and displacement sensors?
Yes. Each layer covers the other's blind spot. A strong enclosure only slows an attacker down. Sensors alone stay silent until someone opens the door. Together, they make tampering hard to commit and hard to hide, even when the housing is eventually defeated.
How do you stop displacement sensors from triggering false alarms?
Calibrate against your actual site. Measure the normal vibration floor and set shock thresholds above it. Verify sensor gaps at thermal extremes with feeler gauges. Apply a short debounce filter so a brief door swing does not register as a forced entry.
Can you add displacement sensors to an existing PDU installation?
Often, yes. Mount Hall-effect or mechanical switches at door edges, seams, and mounting points. Route their signals into the Smart PDU's remote management path. Confirm your monitoring platform can accept the new event stream before you commit to a retrofit.
Does the housing need an IP55 rating for indoor racks?
Not necessarily. IP55, defined by IEC 60529, suits outdoor cabinets exposed to dust and projected water. A controlled data center rack faces far less. Match the ingress protection to the site, and spend the savings on sensor redundancy or stronger fasteners instead.
How do you pick between an entry-level and a high-security build?
Let your threat model decide. A single sensor and standard fasteners fit a staffed indoor rack. Multi-sensor detection, armored hinges, and full fault-injection testing fit a remote outdoor cabinet. Weigh each layer's cost against the loss it prevents.
See Also
Effective Ways to Enhance Anti-Theft Features for Communication Cabinets
Professional Advice for Protecting Communication Cabinets in Dangerous Locations
Methods to Protect Outdoor Communication Cabinets Against Vandalism Damage
Using Outdoor Telecom Cabinets to Safeguard Sensitive Equipment Effectively
Proper Installation and Maintenance of Smoke Sensors in Communication Cabinets
CALL US DIRECTLY
86-13752765943
3A-8, SHUIWAN 1979 SQUARE (PHASE II), NO.111, TAIZI ROAD,SHUIWAN COMMUNITY, ZHAOSHANG STREET, NANSHAN DISTRICT, SHENZHEN, GUANGDONG, CHINA
