ESTEL Step-by-Step Guide to Wiring PV Panels for Beginners
Wiring PV panel wiring is the backbone of a reliable solar power system. When done right, it ensures your panels produce maximum energy for your home. Don’t worry if you’re new to this—this beginner's guide simplifies everything. From the basics to tips for stringing solar panels, you’ll learn how to connect your solar panel safely and efficiently. ESTEL is here to support you every step of the way with expert advice.
Key Takeaways
Learn the main parts of a solar system: panels, inverters, and batteries. Knowing their jobs helps you connect them properly.
Pick series or parallel connections depending on your energy needs. Series boosts voltage, and parallel boosts current for better performance.
Get tools like a multimeter and safety gear before starting. Being ready makes wiring easier and safer.
Understanding PV Panel Wiring Basics
When it comes to solar panel wiring, understanding the basics is crucial. It’s like learning the foundation of a house—you can’t build a strong system without it. Let’s break it down step by step so you can feel confident as you move forward.
Key Components of a Solar Power System
Before diving into wiring, you need to know the main parts of a solar power system. Each component plays a unique role in generating and managing electricity. Here’s a quick overview:
Component | Description |
|---|---|
Solar Panels | Convert sunlight into electricity using the photovoltaic effect. |
Inverters | Transform the direct current (DC) from panels into alternating current (AC) for home use. |
Solar batteries store extra energy for later use, ensuring a steady power supply. | |
Racking System | Holds the solar panels securely in place. |
Allow you to safely disconnect the system from the grid when needed. | |
Battery Charge Controller | Regulates the charging and discharging of batteries to prevent overcharging or damage. |
Backup Power Systems | Provide additional power during outages, keeping your home running smoothly. |
Each of these components works together to create an efficient solar power system. By understanding their roles, you’ll have a clearer picture of how everything connects.
Series vs. Parallel Connections Explained
When wiring your solar panels, you’ll need to decide between series and parallel connections. Each method has its own advantages, depending on your system’s needs. Let’s compare them:
Connection Type | Voltage Output | Current Output | Best Use Case |
|---|---|---|---|
Series | Increases | Maintains | Ideal for high-power applications. |
Parallel | Maintains | Increases | Best for shaded conditions or uneven panel performance. |
In a series connection, the voltage of each panel adds up, while the current stays the same. This setup works well if you need higher voltage for your system. However, keep in mind that a single shaded or malfunctioning panel can reduce the output of the entire array.
On the other hand, parallel connections keep the voltage constant but increase the current. This method is great for ensuring consistent performance, even if one panel is shaded or underperforming. For larger systems, a hybrid wiring configuration that combines both methods can optimize performance.
Tip: If you’re unsure which connection type to choose, consider your energy needs and the layout of your panels. A professional can also help you decide the best wiring configuration for your setup.
Voltage and Current Requirements for Solar Panels
Voltage and current are the lifeblood of your solar power system. To get the most out of your panels, you need to understand how these factors affect efficiency. Here’s a quick breakdown:
Relationship | Regression Equation | Positive Coefficient | Explanation |
|---|---|---|---|
Efficiency vs. Solar Intensity | y = 0.0027x + 17.955 | 0.0027 | Efficiency increases with more sunlight, boosting energy production. |
Efficiency vs. Wind Speed | y = 0.2784x + 18.367 | 0.2784 | Higher wind speeds improve efficiency by cooling panels and keeping them clean. |
Solar panels perform best when they receive plenty of sunlight and stay cool. That’s why proper placement and ventilation are so important. Additionally, wiring your panels correctly ensures that the voltage and current meet the requirements of your inverter and other components.
Keep in mind that a poorly wired system can lead to inefficiencies. For example:
A single panel failure in a series connection can reduce the entire array’s output.
Shade on one or more panels can significantly impact performance.
By mastering the basics of solar panel wiring, you’ll set yourself up for success. Take your time, plan carefully, and don’t hesitate to ask for help if you need it.
Tools and Materials for Solar Panel Wiring
Before you start wiring solar panels, it’s important to gather the right tools and materials. Having everything ready will make your solar system setup smoother and more efficient. Let’s dive into what you’ll need.
Essential Tools for Wiring Solar Panels
You don’t need a toolbox full of fancy gadgets to wire solar panels, but a few key tools are essential. Here’s a list to get you started:
Multimeter: Helps you measure voltage, current, and resistance.
Clamp Meter: Useful for checking current without disconnecting wires.
Solar Power Meter: Measures the energy output of your panels.
Irradiance Meter: Ensures your panels are receiving enough sunlight.
Thermal Imager: Detects overheating in your solar system setup.
Insulation Tester: Checks for proper insulation in your wiring.
If you’re mounting your panels, you’ll also need hardware like brackets, clamps, bolts, and flashing. These tools ensure your panels stay secure, whether they’re ground-mounted, roof-mounted, or pole-mounted.
Tip: Invest in quality tools. They’ll last longer and make your installation process much easier.
Materials Checklist for a Beginner-Friendly Setup
When you wire a solar panel to a battery, having the right materials is just as important as the tools. Here’s a beginner-friendly checklist:
Solar Panels: The heart of your system. Choose panels that fit your energy needs.
Inverter: Converts DC electricity from your panels into AC power for your home.
Charge Controller: Protects your solar battery from overcharging.
Solar Battery: Stores energy for use when the sun isn’t shining.
Wiring and Connectors: Includes cables, MC4 connectors, and grounding materials.
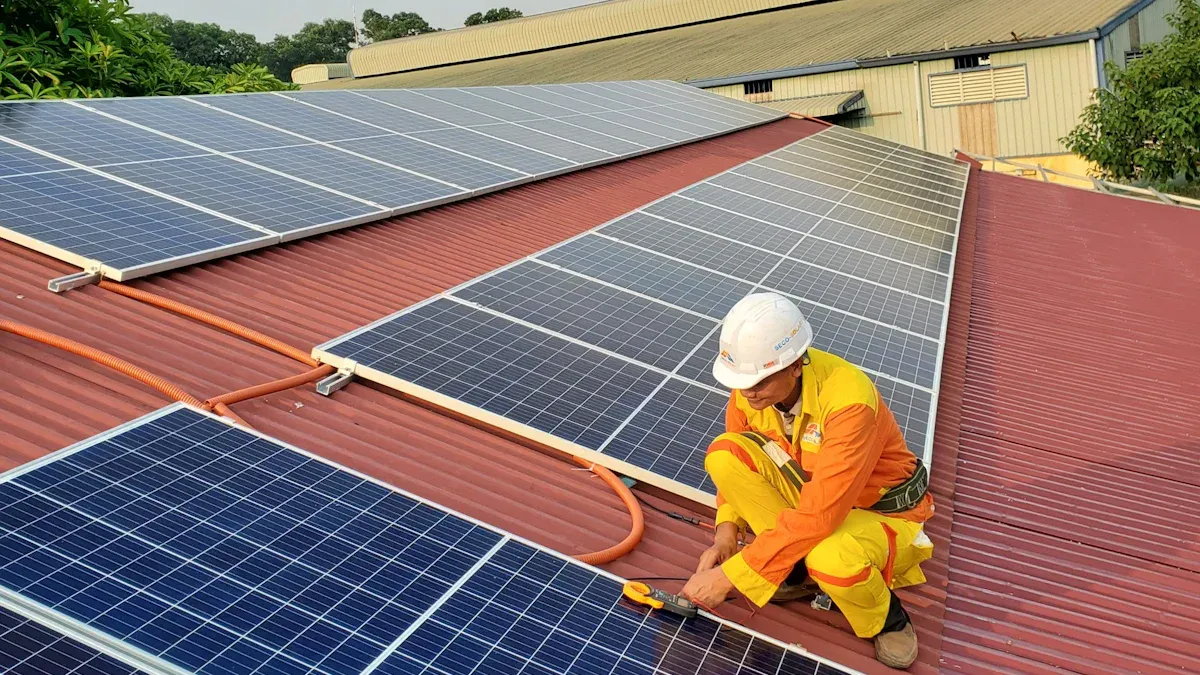
Safety Gear: Hard hats, harnesses, and gloves to keep you safe during installation.
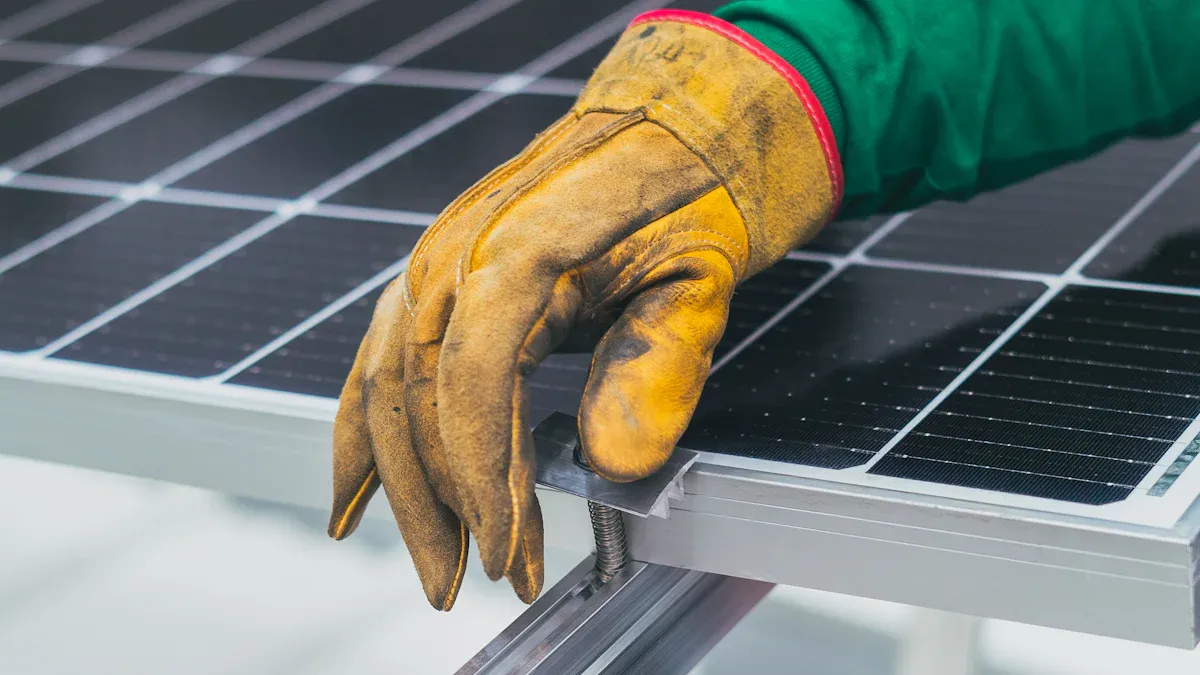
Mounting Equipment: Racking systems, brackets, and bolts to secure your panels.
Note: Before starting, inspect your site. Check for roof damage, obstructions, and electrical panel conditions. This ensures a smooth installation and prevents future issues.
With these tools and materials, you’re ready to wire solar panels like a pro. Take your time, double-check your setup, and enjoy the process of building your solar power system.
Step-by-Step Setup Guide for Beginners
Step 1: Plan Your Solar Panel Layout
Before you start wiring, take some time to plan your solar panel array layout. A well-thought-out layout ensures maximum efficiency and simplifies the installation process. Here’s how to get started:
Collect Data on Site Conditions: Measure the available space, check for shading, and evaluate roof orientation. South-facing roofs are usually the most effective for solar panel installations.
Analyze Feasibility: Determine if your site can support the desired number of panels and whether the structure can handle the weight.
Calculate Energy Production: Use tools or online calculators to estimate how much energy your solar panel array will generate based on your location and panel specifications.
Optimize Panel Placement: Adjust the tilt angle to ensure the panels are perpendicular to sunlight. For ground-mounted systems, maintain proper row spacing to avoid self-shading.
Consider Airflow: Ensure there’s enough space beneath the panels for ventilation. Proper airflow prevents overheating and maintains efficiency.
Pro Tip: A cost-benefit analysis can help you weigh the potential savings against installation costs. This step is crucial for optimizing your solar panel wiring setup.
Step 2: Choose Between Series or Parallel Connections
Now that your layout is ready, decide how to wire solar panels—series, parallel, or a combination of both. This choice depends on your energy needs and the system’s design.
Series Connections: Increase voltage while keeping current constant. This is ideal for systems requiring high voltage, such as those with long cable runs. However, shading on one panel can reduce the output of the entire string.
Parallel Connections: Maintain voltage but increase current. This setup is better for shaded areas or when panels have varying performance levels.
Note: If you’re unsure which wiring configuration to choose, consult solar panel wiring diagrams or seek professional advice. These diagrams can help you visualize the connections and avoid mistakes.
Step 3: Wire Solar Panels Using the Correct Method
Once you’ve chosen the connection type, it’s time to wire solar panels. Follow these steps for a smooth process:
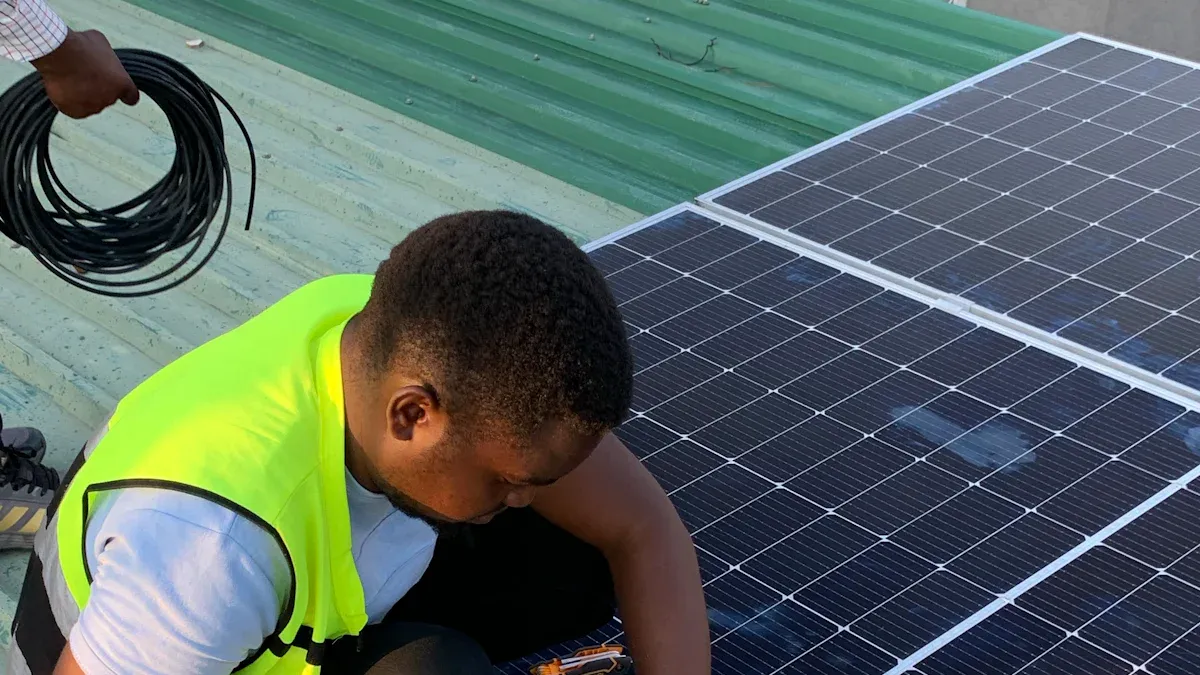
Gather Materials: Ensure you have the right cables, connectors, and tools. MC4 connectors are commonly used for PV panel wiring.
Connect Panels in Series or Parallel:
For series connections, link the positive terminal of one panel to the negative terminal of the next.
For parallel connections, connect all positive terminals together and all negative terminals together.
Secure the Wiring: Use cable ties or clips to keep wires organized and prevent damage.
Safety Tip: Always double-check your connections before moving to the next step. Incorrect wiring can damage your system or reduce efficiency.
Step 4: Connect Panels to the Charge Controller
The charge controller regulates the flow of electricity from your solar panel array to the battery. Here’s how to connect it:
Identify the Input Terminals: Most charge controllers have clearly labeled terminals for solar panel input.
Connect the Panels: Use the appropriate cables to link the positive and negative terminals of your solar panel wiring to the charge controller.
Check Polarity: Ensure the positive and negative wires are connected to the correct terminals. Reversed polarity can damage the controller.
Reminder: Refer to the manufacturer’s manual for specific instructions. Different charge controllers may have unique requirements.
Step 5: Link the Charge Controller to the Battery
After connecting the panels, it’s time to link the charge controller to the battery. This step is crucial for storing the energy your panels generate.
Choose the Right Battery: Select a solar battery compatible with your system. Lithium-ion batteries are popular for their efficiency and longevity.
Connect the Wires: Attach the positive and negative terminals of the charge controller to the corresponding terminals on the battery.
Install a Fuse: Place a fuse between the charge controller and the battery to protect against electrical surges.
Pro Tip: Keep the battery in a well-ventilated area to prevent overheating and ensure safety.
Step 6: Test the System for Proper Functionality
Before you start using your solar power system, test it to ensure everything works as expected. Here’s a quick checklist:
Measure Voltage and Current: Use a multimeter to verify that the system is producing the expected voltage and current.
Inspect Connections: Check all wiring configurations for loose or incorrect connections.
Simulate Real-World Conditions: Test the system under different lighting conditions to ensure consistent performance.
Testing protocols like thermal cycling and UV exposure testing can help identify potential issues. These tests simulate real-world conditions and ensure your system is ready for long-term use.
Key Performance Indicators: Look for power degradation rates, mechanical load tolerance, and thermal cycling resilience to gauge your system’s reliability.
By following this setup guide for beginners, you’ll have a fully functional solar power system that’s efficient and safe. Take your time, double-check your work, and enjoy the satisfaction of generating your own clean energy.
Safety Guidelines for Solar Panel Wiring
When working with solar panels, safety should always come first. Following essential safety guidelines ensures your installation process is smooth and accident-free. Let’s dive into the key practices you need to know.
General Safety Tips for Working with Electricity
Electricity can be dangerous if mishandled. To stay safe, follow these tips:
Wear Personal Protective Equipment (PPE): Gloves, goggles, and insulated tools protect you from electric shocks and burns.
Turn Off Power Sources: Always disconnect the charge controller and battery before connecting solar panels.
Avoid Wet Conditions: Never work on wiring during rain or when surfaces are damp. Moisture increases the risk of electric shock.
Maintain a Safe Distance: Keep away from overhead power lines to prevent accidental contact.
Did you know? Between 2011 and 2021, 46% of electrical fatalities were caused by contact with power lines. Staying alert and maintaining distance can save lives.
Handling PV Panels and Wiring Safely
Solar panels and wiring require careful handling to avoid damage and injuries. Here’s how you can do it safely:
Lift Panels Properly: Use your legs, not your back, to lift heavy panels. This reduces the risk of musculoskeletal injuries, which account for 30% of work-related cases in the U.S.
Secure Wiring: Loose connections can lead to fires or system failures. Double-check all wire connections and use proper mounting techniques.
Protect Against Heat Stress: Install panels early in the morning or late in the afternoon to avoid extreme heat. Over 600 deaths occur annually due to heat stress, with construction workers being the most affected.
Tip: Keep your workspace organized. Tangled wires and scattered tools increase the risk of accidents.
Avoiding Common Mistakes During Installation
Mistakes during installation can compromise your system’s efficiency and safety. Here are some common errors to watch out for:
Mistake Type | Impact | Solution |
|---|---|---|
Loose Wire Connections | Reduced efficiency, fire risk | Tighten all connections securely. |
Insufficient Panel Spacing | Overheating, reduced airflow | Maintain proper spacing between panels. |
Incorrect Mounting Techniques | Panel damage, system instability | Follow manufacturer guidelines. |
Fire incidents in solar installations are rare, occurring in less than 0.01% of cases. However, improper wiring and mounting can increase this risk. Always use tools provided by the manufacturer and follow their instructions closely.
By following these essential safety guidelines, you’ll protect yourself and ensure your solar power system operates efficiently. Take your time, stay alert, and enjoy the process of connecting solar panels safely.
Wiring PV panels might seem tricky at first, but breaking it into steps makes it manageable. Start by planning your layout and choosing the right connection type. Use identical panels and map out your wiring route for a clean setup. Always check your inverter’s specifications to match your system’s energy capacity.
Safety Reminder: Stick to proper spacing, secure all connections, and wear protective gear. These small steps prevent big problems.
Group panels with similar conditions for better performance.
Consider microinverters for individual panel optimization.
Keep the array-to-inverter ratio between 1.15 and 1.55.
Take your time and enjoy the process. ESTEL is here to guide you with expert advice whenever you need it. 🌞
FAQ
What is the role of a solar inverter in a solar power system?
A solar inverter converts DC electricity from your panels into AC power for home use. It ensures compatibility with appliances and optimizes energy efficiency.
Can I wire solar panels without professional help?
Yes, you can! Follow this guide, use proper tools, and take safety precautions. If unsure, consult a professional for advice on wiring and solar inverter setup.
How do I test my solar system after installation?
Use a multimeter to check voltage and current. Inspect connections and simulate sunlight conditions to ensure your panels and solar inverter work properly.
See Also
Essential Insights for Newcomers on Telecom Power Supplies
Simple Steps for Installing ESTEL Outdoor Telecom Cabinets
Telecom Cabinets Powered by Grid-Connected Solar Inverter Systems
CALL US DIRECTLY
86-13752765943
3A-8, SHUIWAN 1979 SQUARE (PHASE II), NO.111, TAIZI ROAD,SHUIWAN COMMUNITY, ZHAOSHANG STREET, NANSHAN DISTRICT, SHENZHEN, GUANGDONG, CHINA